Virtual reality is an amazing combination of hardware and software, but its complicated nature means it does have a tendency to go a bit pear-shaped from time-to-time.
If you’re new to VR, it can be a bit difficult to figure out what the problem is when something goes wrong. Here’s our guide to common problems with the Oculus Quest and Quest 2, along with basic troubleshooting, care, and maintenance tips.
Common Problems, Basic Troubleshooting
General bugs, errors, and inconsistent performance
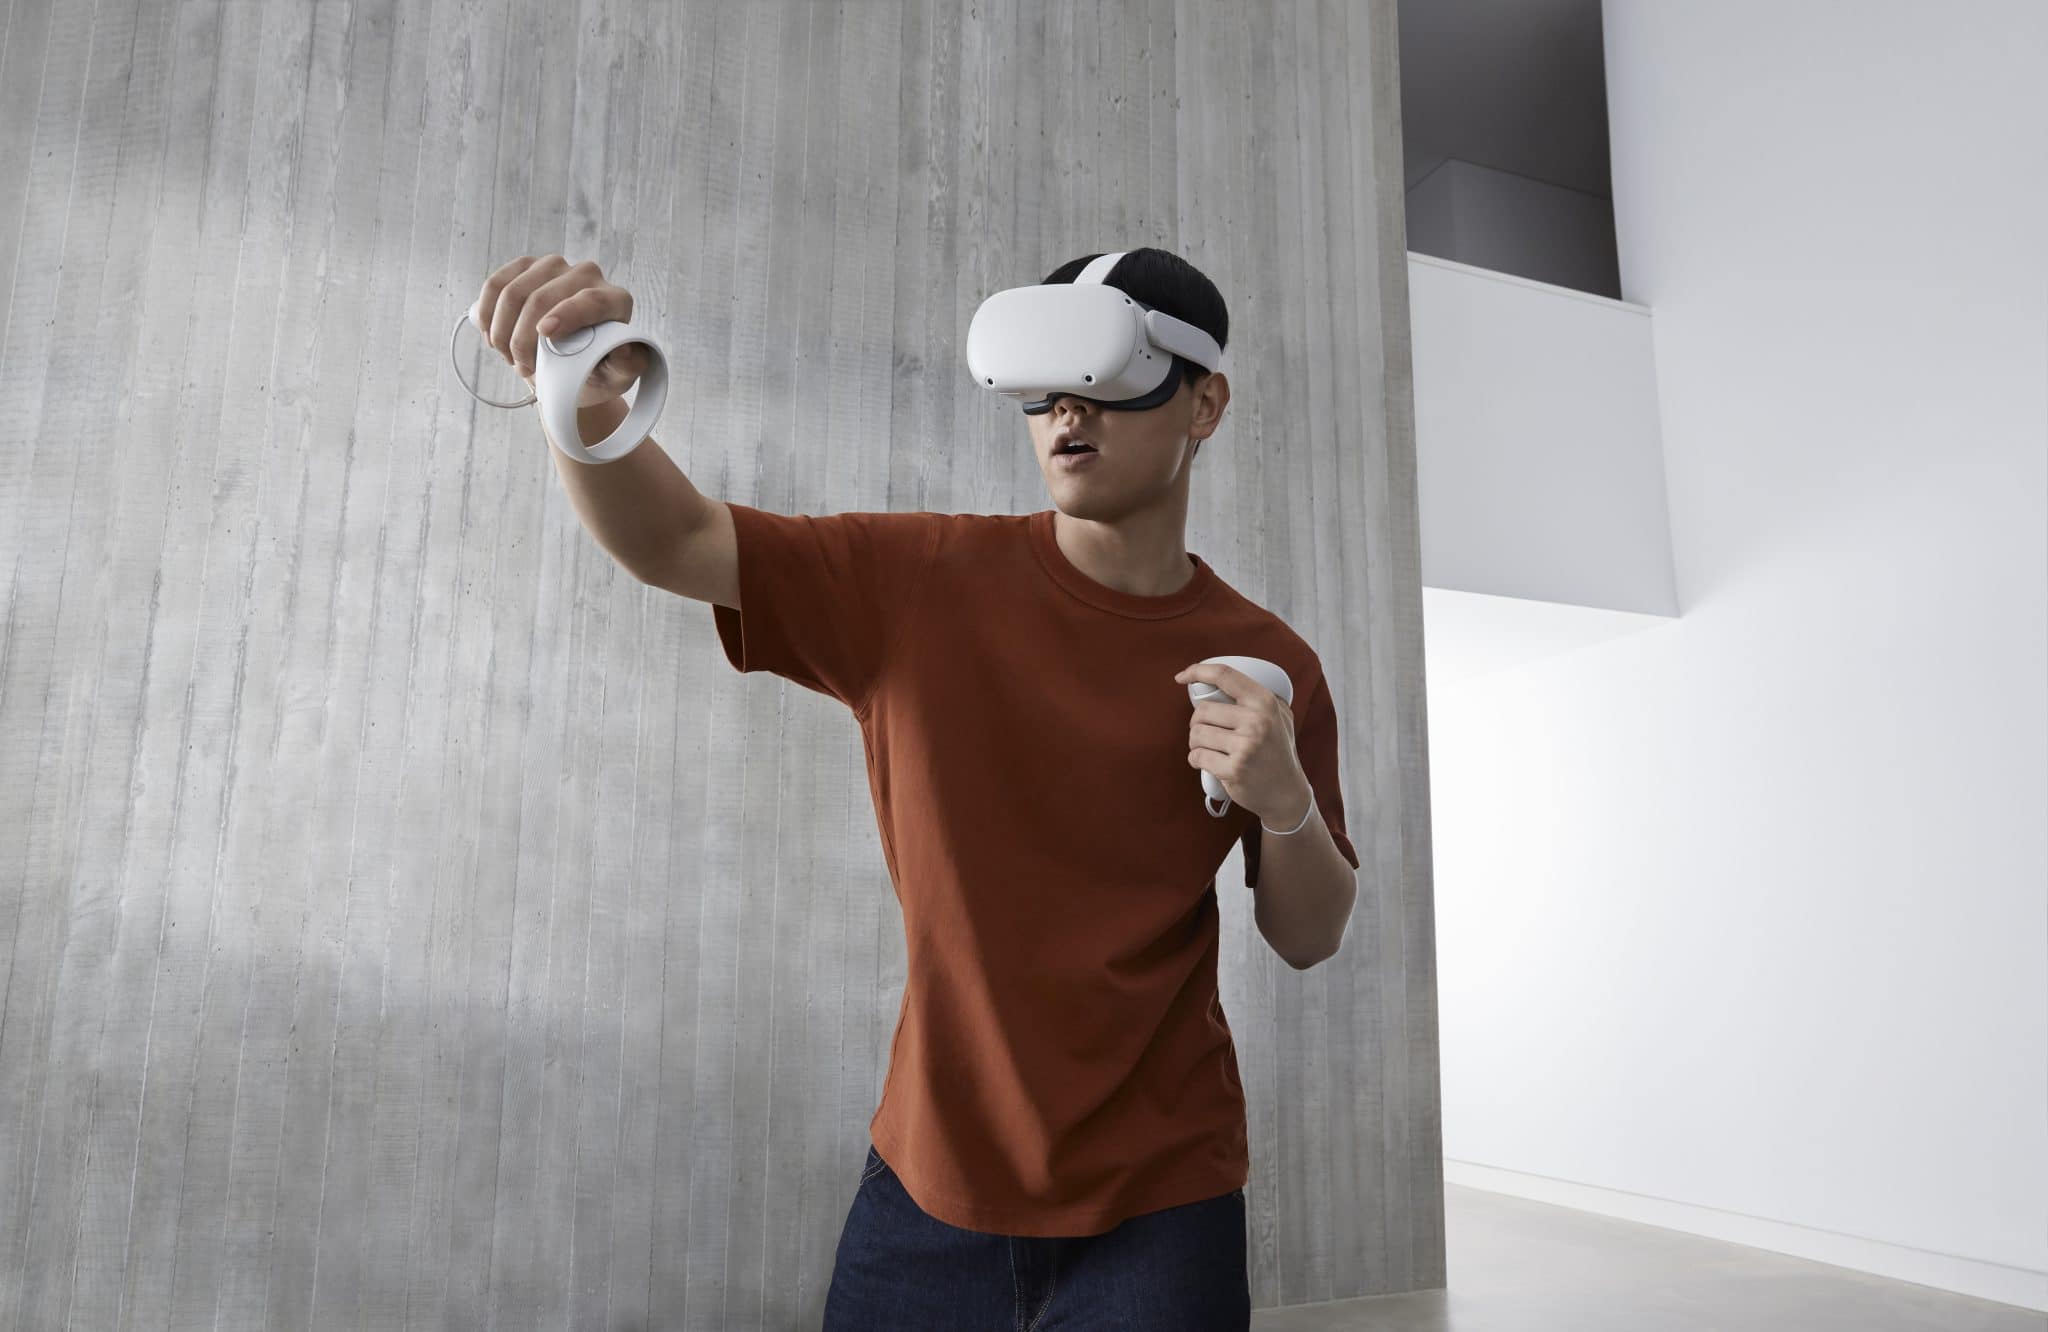
If you’re experiencing any kind of bug, inconsistent performance, or errors popping up and you can’t seem to figure out why, a full reboot of your headset will usually do the trick. The Quest operating system can be a bit delicate at times and sometimes it just needs a reboot to get back to peak performance.
Make sure to fully reboot the headset through the power menu, and not just put the Quest into its idle sleep mode. To do this, hold down the power button and select Power Off or Restart. A full power cycle usually fixes basic and unidentifiable problems. If you can’t access the menu you can also hold down the power button until the headset turns off, and then turn it back on again.
Tracking and Guardian Problems
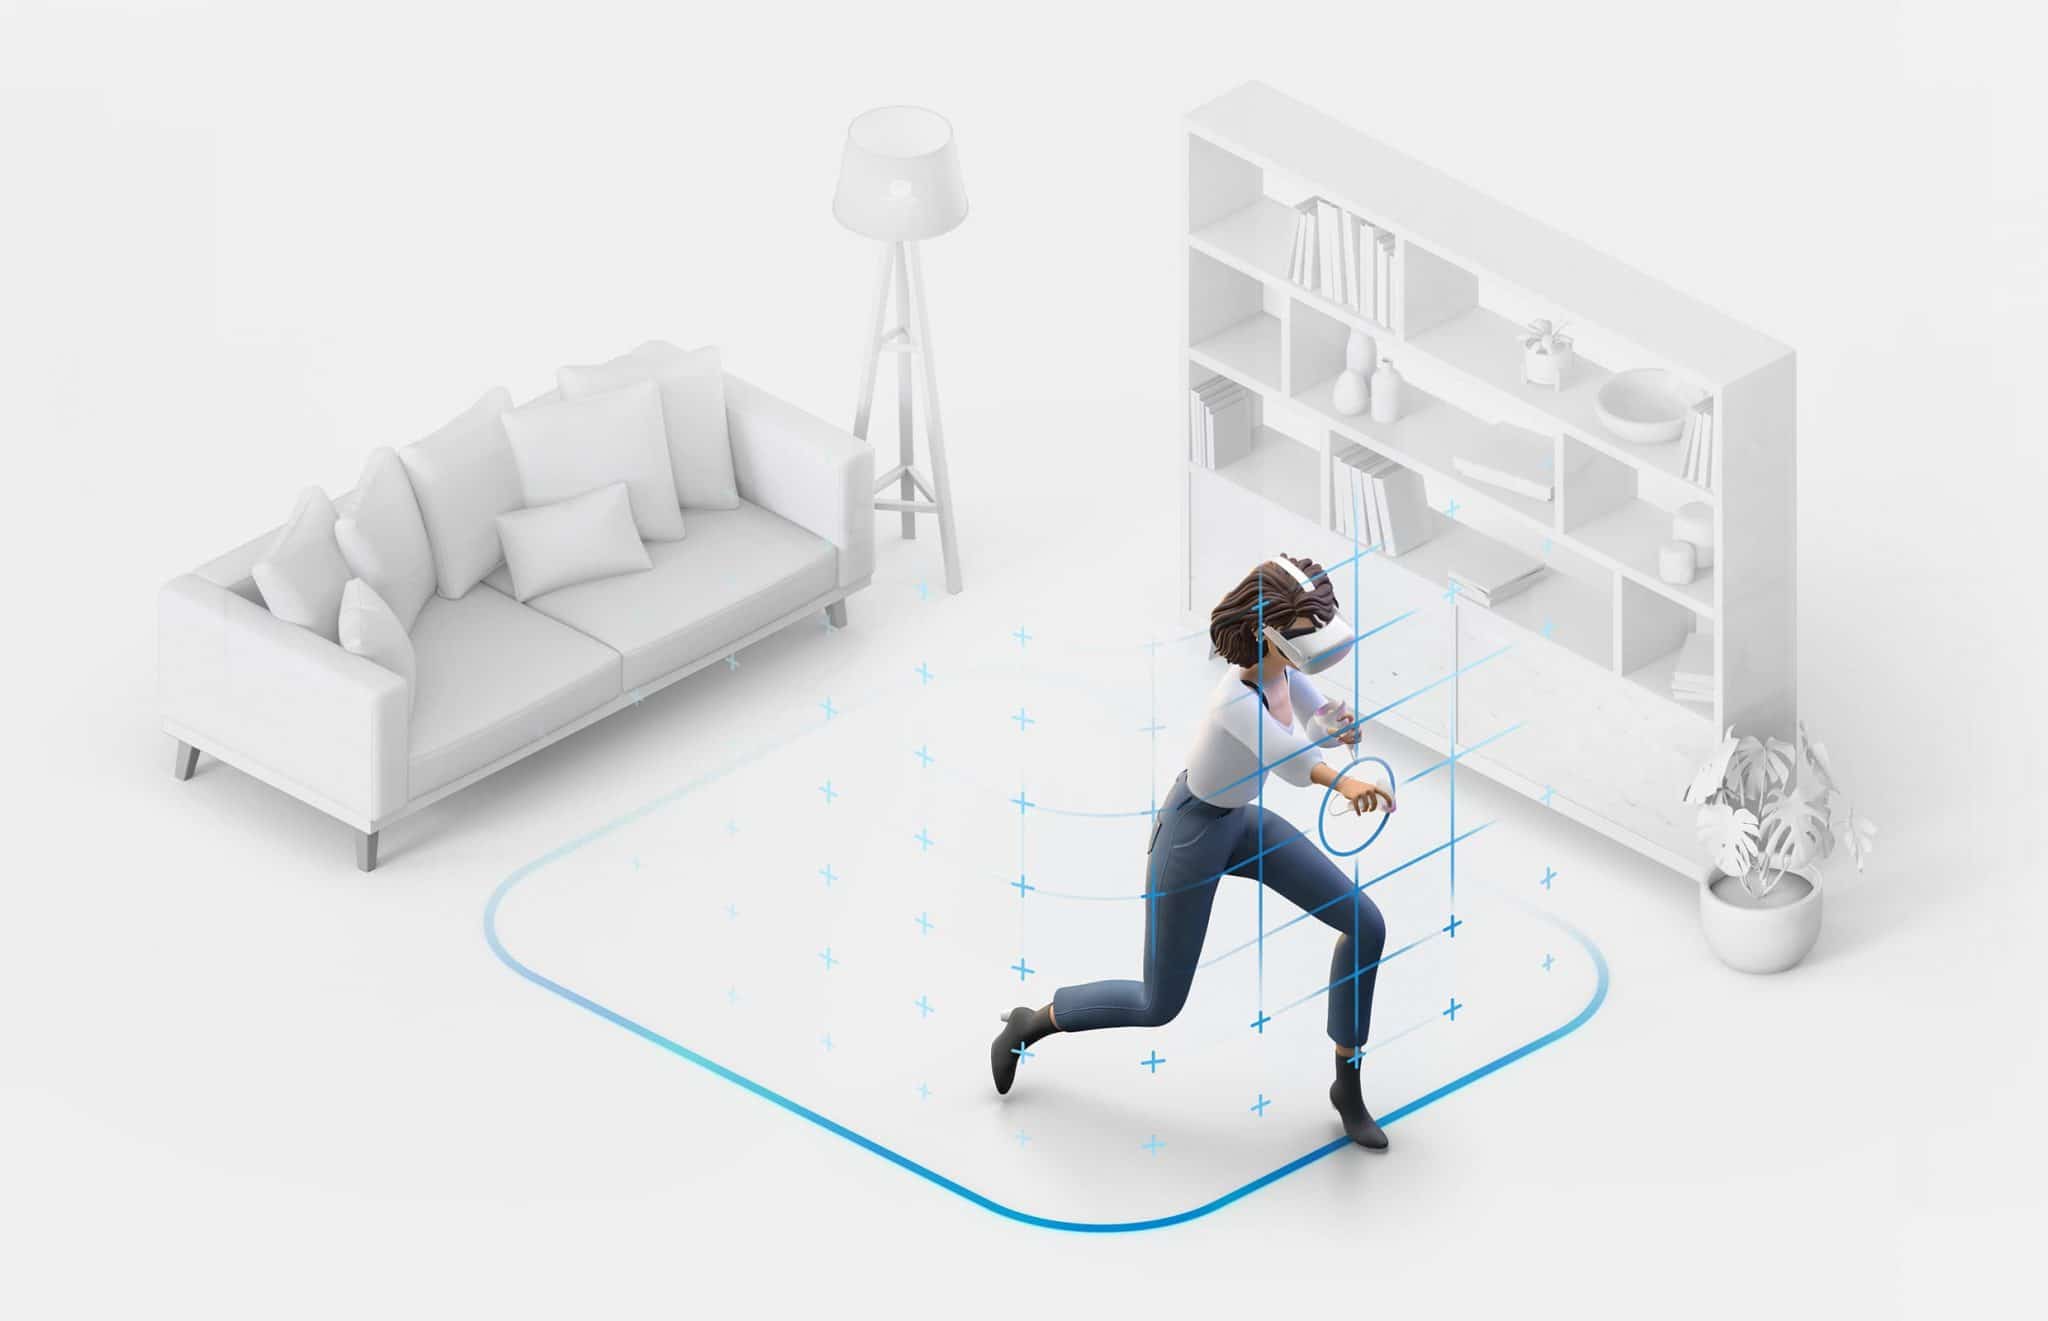
Occasionally the guardian system or headset tracking might act up and be a bit inconsistent. You might even get errors relating to the headset having ‘lost tracking’. Here are some potential causes and general fixes for tracking and guardian problems.
First, make sure you are playing in an indoor area that is well-lit but not in direct sunlight. The Quest is not designed to work in direct sunlight or outdoor conditions — if you’re inside, consider closing your blinds slightly to avoid direct light while keeping the area well-lit.
Next, try cleaning the tracking cameras. Smears and fingerprints on the Quest’s four external tracking cameras might be an issue. Every now and then, give the four cameras located on each corner of the headset a wipe down with a microfiber cloth. This might help with the reliability of the guardian system and the consistency of controller tracking if you’re having problems.
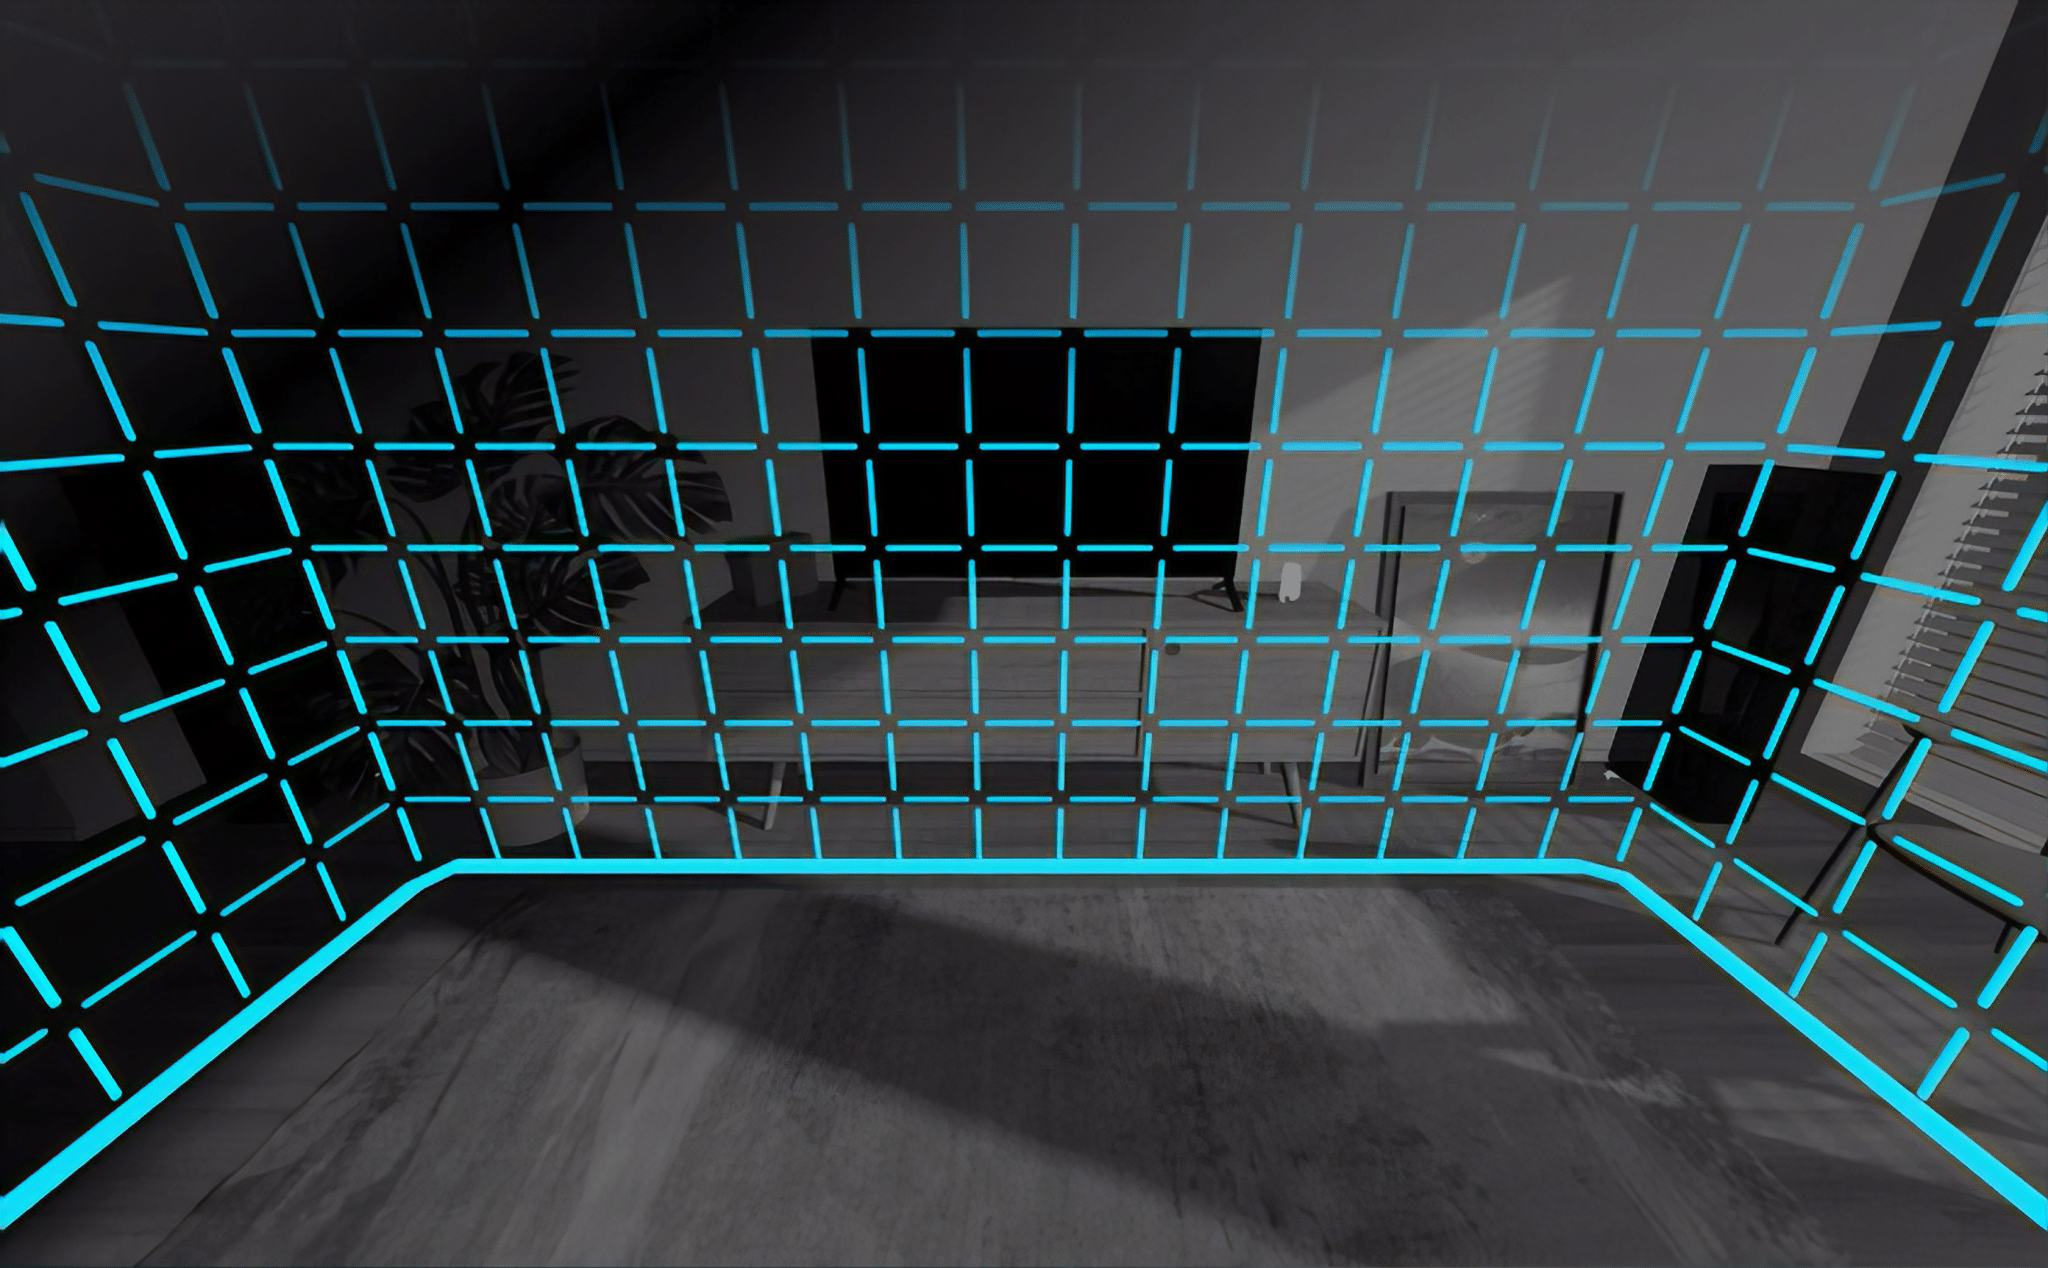
Mirrors and small string lights, such as Christmas tree lights, can also confuse and interfere with the Quest’s tracking system.
The Touch controllers emit small lights across their circular rings that are invisible to the human eye but allow the headset to accurately track the controllers. Large mirrors can throw this off, as can Christmas tree lights (and other string lights), which appear similar to the tracking ring lights to the headset’s camera
Facebook issued a software update to account for the latter problem, but you might still want to avoid using your Quest around large mirrors and/or small string lights if you’re experiencing tracking problems.
If all of the above doesn’t work, try a full reboot (as outlined above) if you haven’t already.
Blurry or Uncomfortable Visuals
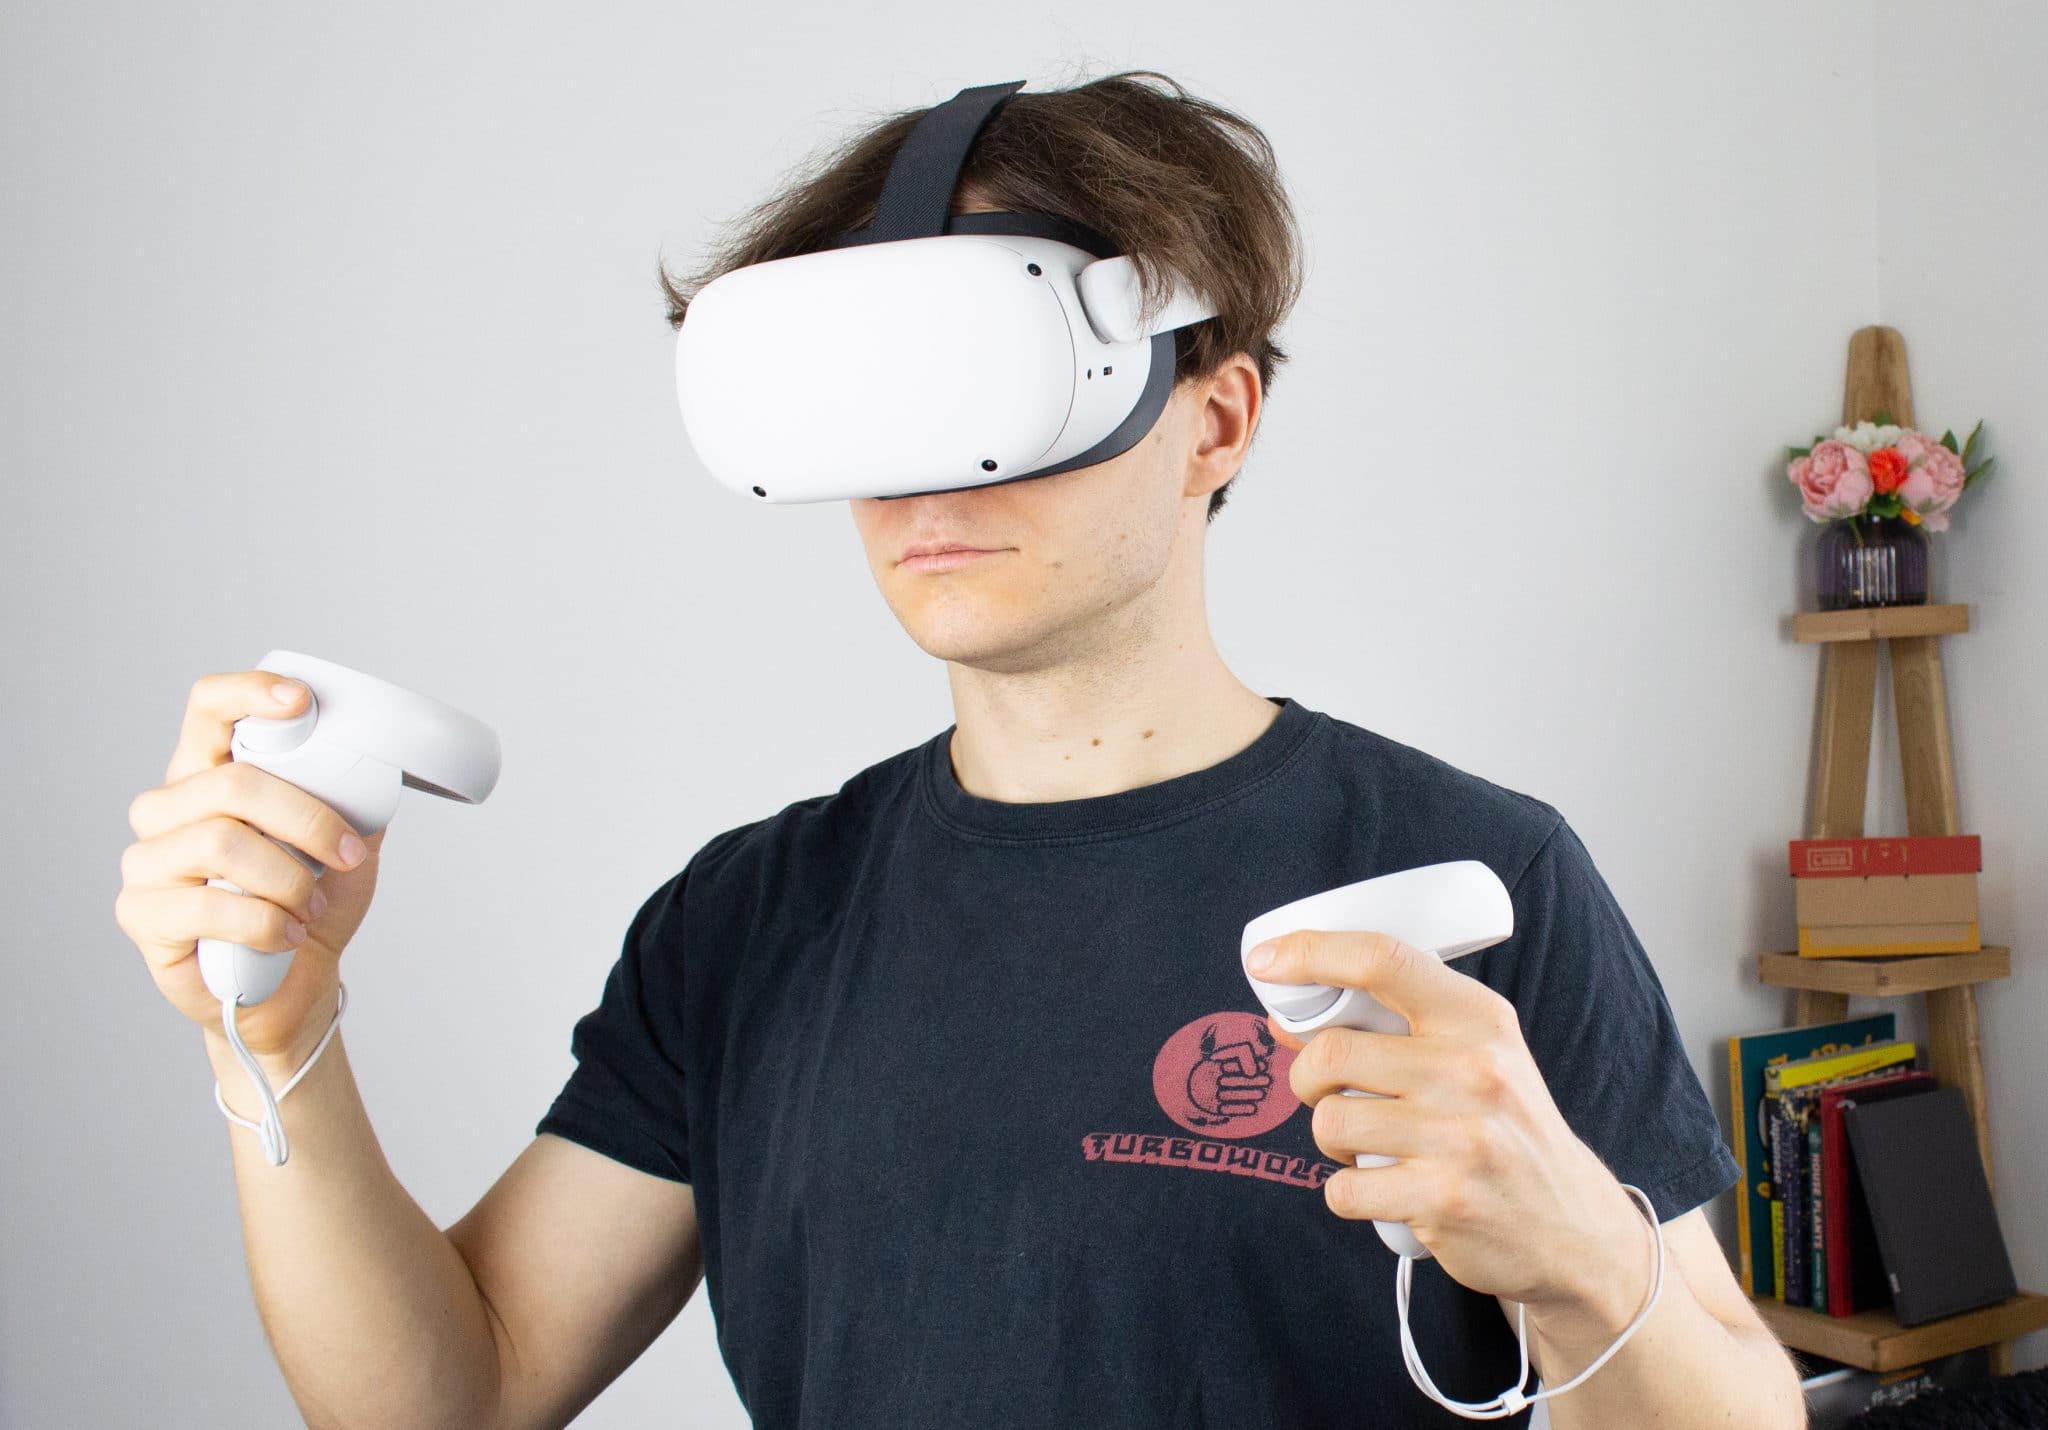
If the image on your Quest appears blurry, not quite right or simply uncomfortable to look at, you may need to adjust the IPD setting on the headset. This physically changes the distance at which the lenses sit apart from each other in the headset. Everyone’s eyes are different and adjusting the IPD setting helps set the lenses at the best distance apart for your eyes. You can read more about IPD in our beginner’s guide to VR.
While it’s possible to measure your IPD and correspond that to a setting, most people can often figure out what feels ‘right’ for their eyes by trial and error.
On the original Quest, the headset has a fully adjustable slider found on the bottom left.
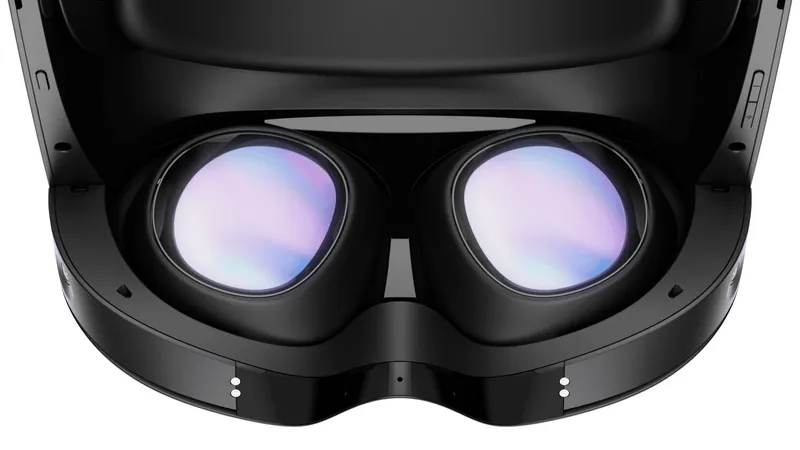
On the Quest 2, the headset has 3 predefined IPD distances, which can be adjusted by nudging the lenses further apart or closer together. The Quest 2 lenses will snap into one of the 3 available positions, marked by a visible 1, 2 or 3 in between the lenses, one for each setting. If you’re precise, you can also keep the lenses between numerical settings to further fine-tune your fit.
If the image is still blurry or you still feel uncomfortable after adjusting the IPD, make sure the Quest is fitted correctly.
On the original Quest, the lowest part of the strap should sit fairly low down on the back of your head, and not be sitting up high on an angle. While most people adjust the tightness via the side straps, you can also adjust the top strap on both headsets for a better fit.
The Quest 2 also has an optional, more comfortable strap called the Elite Strap. You can read about that here. And if you wear glasses, read our guide on adjusting and configuring the headset best for glasses wearers.
If you still feel nauseous or uncomfortable while using your Quest, you may just be experiencing symptoms of VR sickness. Here’s an article with 7 ways you can overcome VR motion sickness.
Controller Problems
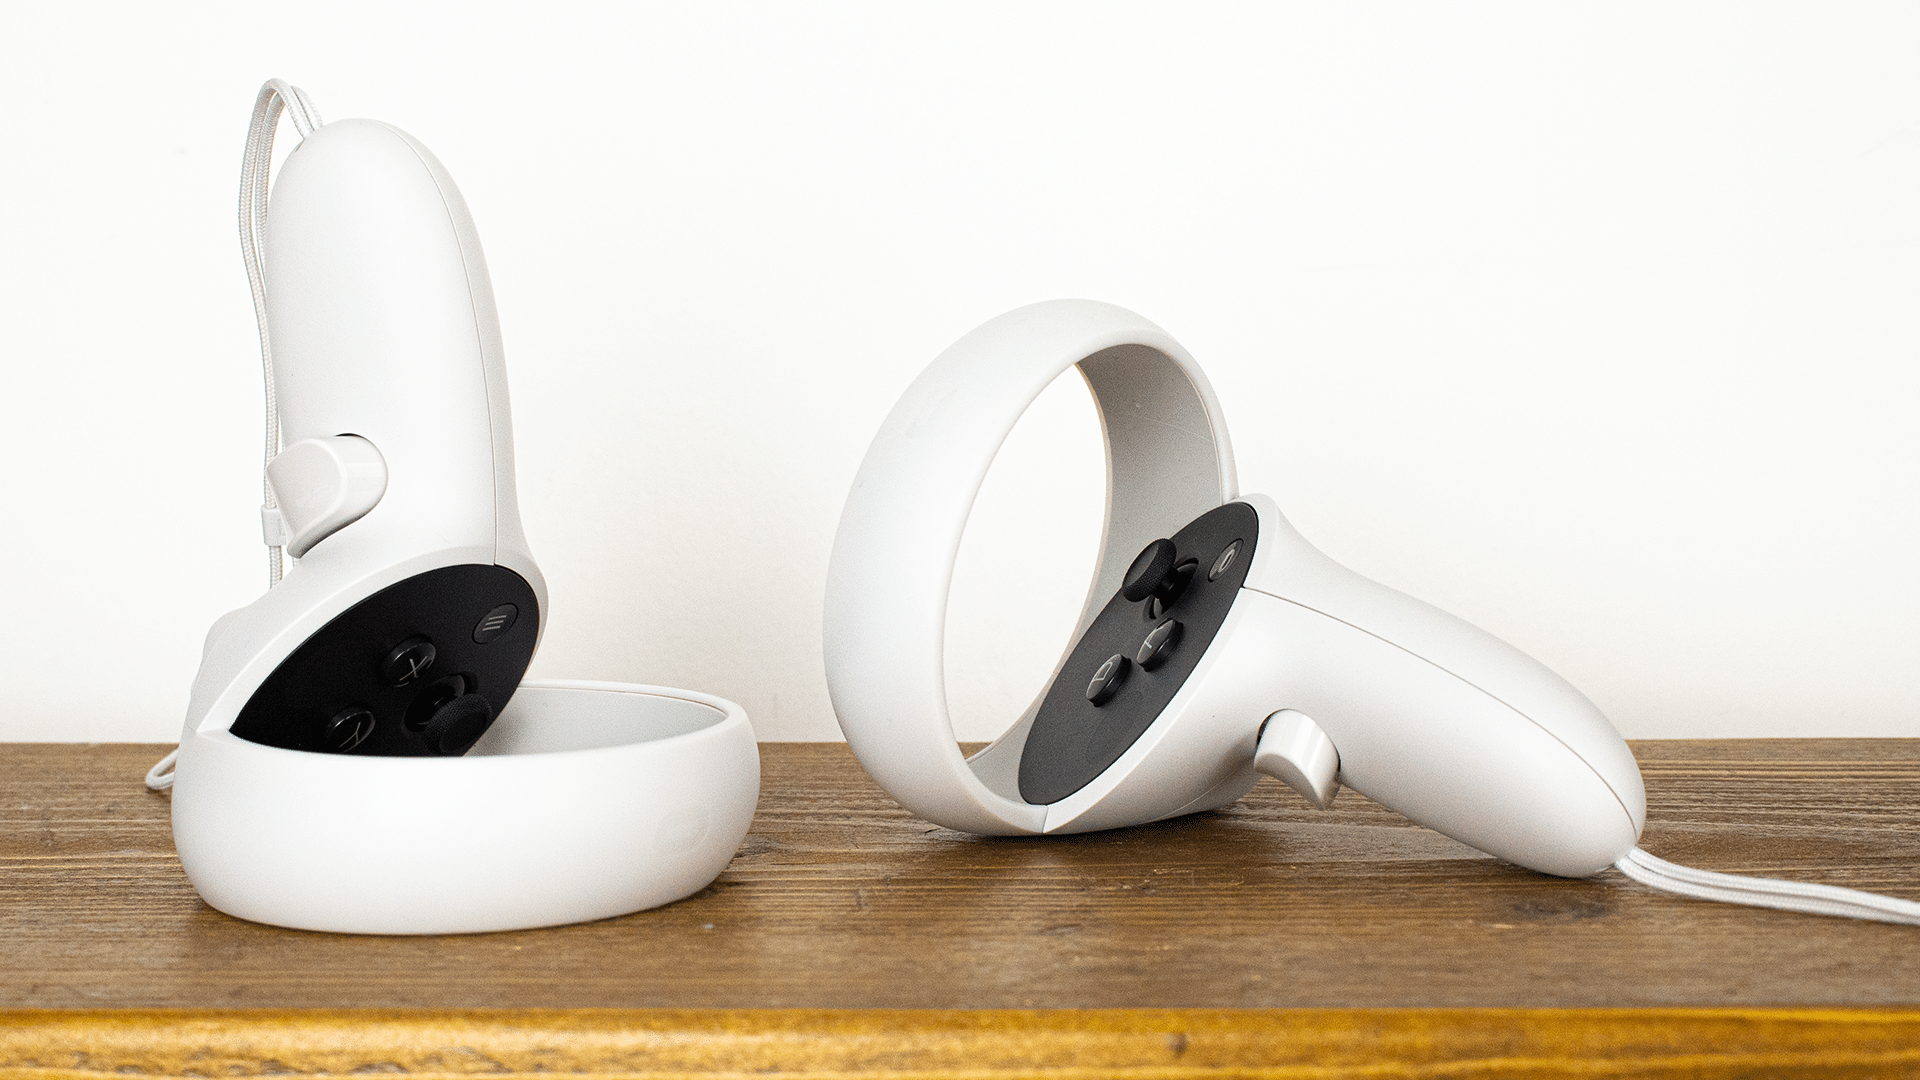
If the Quest is unable to detect one of your controllers, you may need to replace the AA battery, which is accessible underneath a cover that slips off the front of the controller.
Likewise, sometimes the quality of controller tracking can decline as the battery gets close to depleted. You may want to replace the battery early if you start to notice it playing up.
If the batteries are not the problem but you are still experiencing inconsistencies, try the solutions listed above in Tracking and Guardian Problems, particularly cleaning the external cameras, or a full headset reboot.
Care and Maintenance
Avoid Sunlight
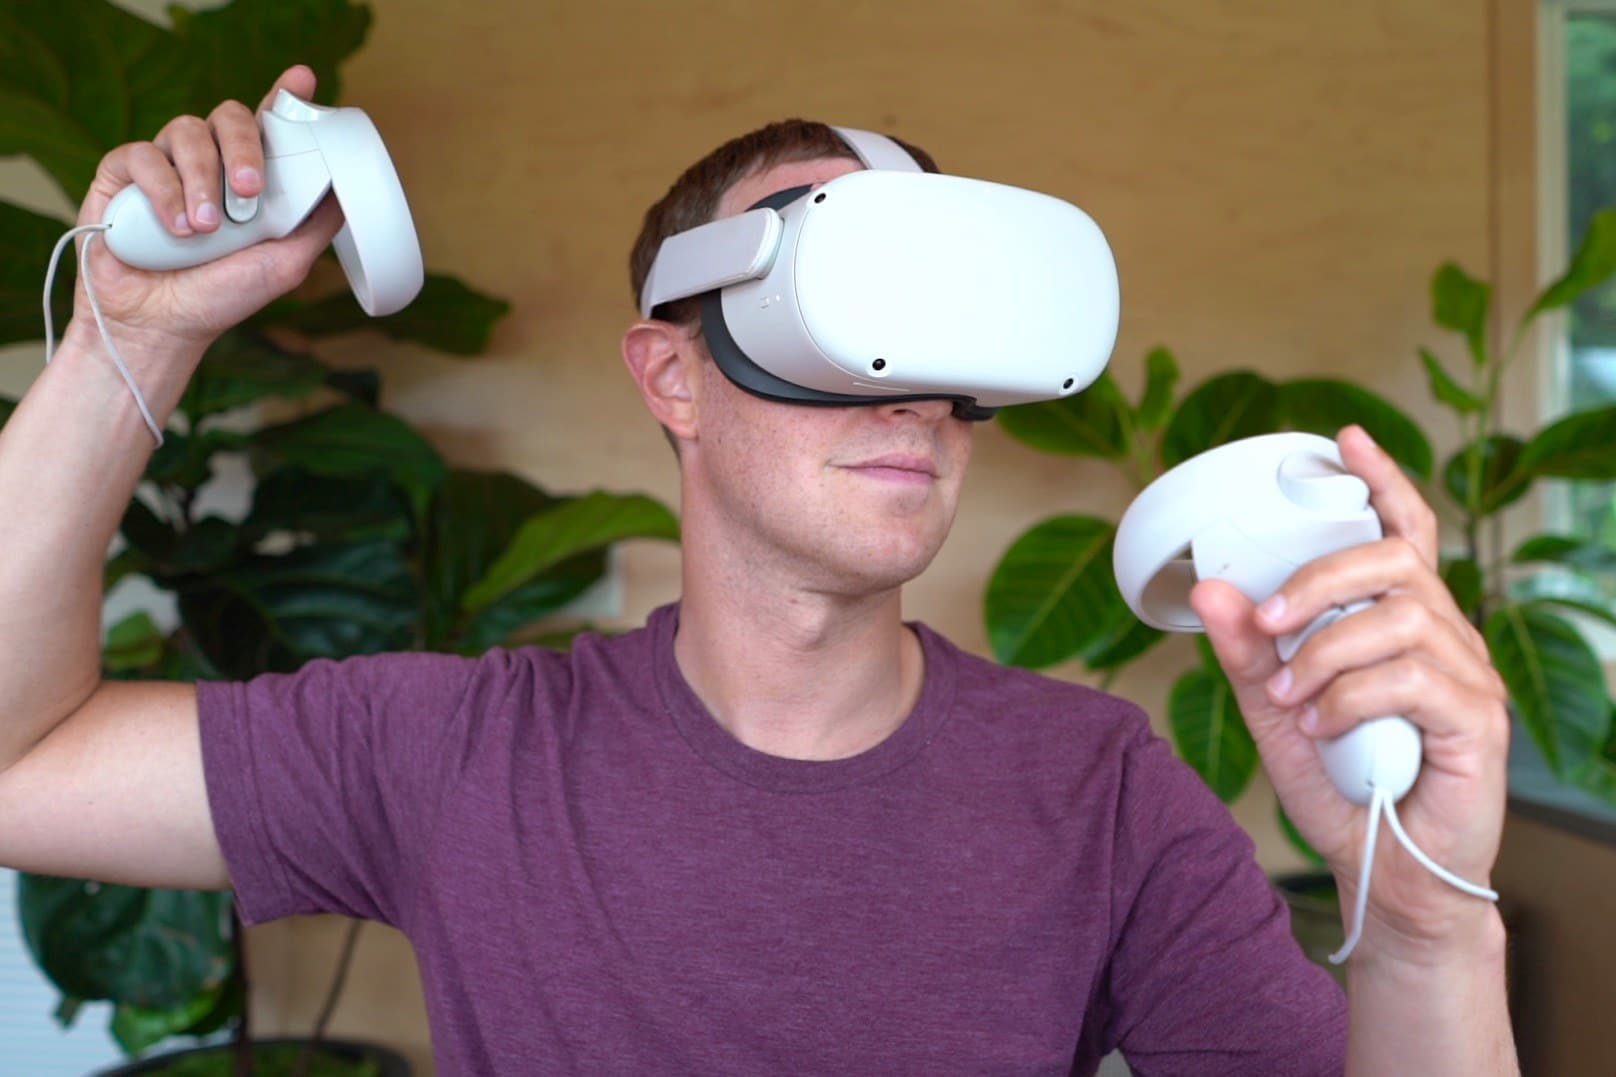
Direct sunlight is bad for the Quest in many ways. For starters, the headset won’t operate properly when outdoors, especially on sunny days.
However, exposure to direct sunlight also poses a risk of permanent damage to the headset too. If direct sunlight hits the Quest lenses, it can be magnified and burn the screen’s pixels, causing irreparable and noticeable damage. Never carry your headset around in direct sunlight and never store the headset out in the open where it might be exposed to direct sunlight.
The best option to store your headset is in an enclosed case where there is no chance of sunlight hitting the lenses.
Avoid Dust on Lenses
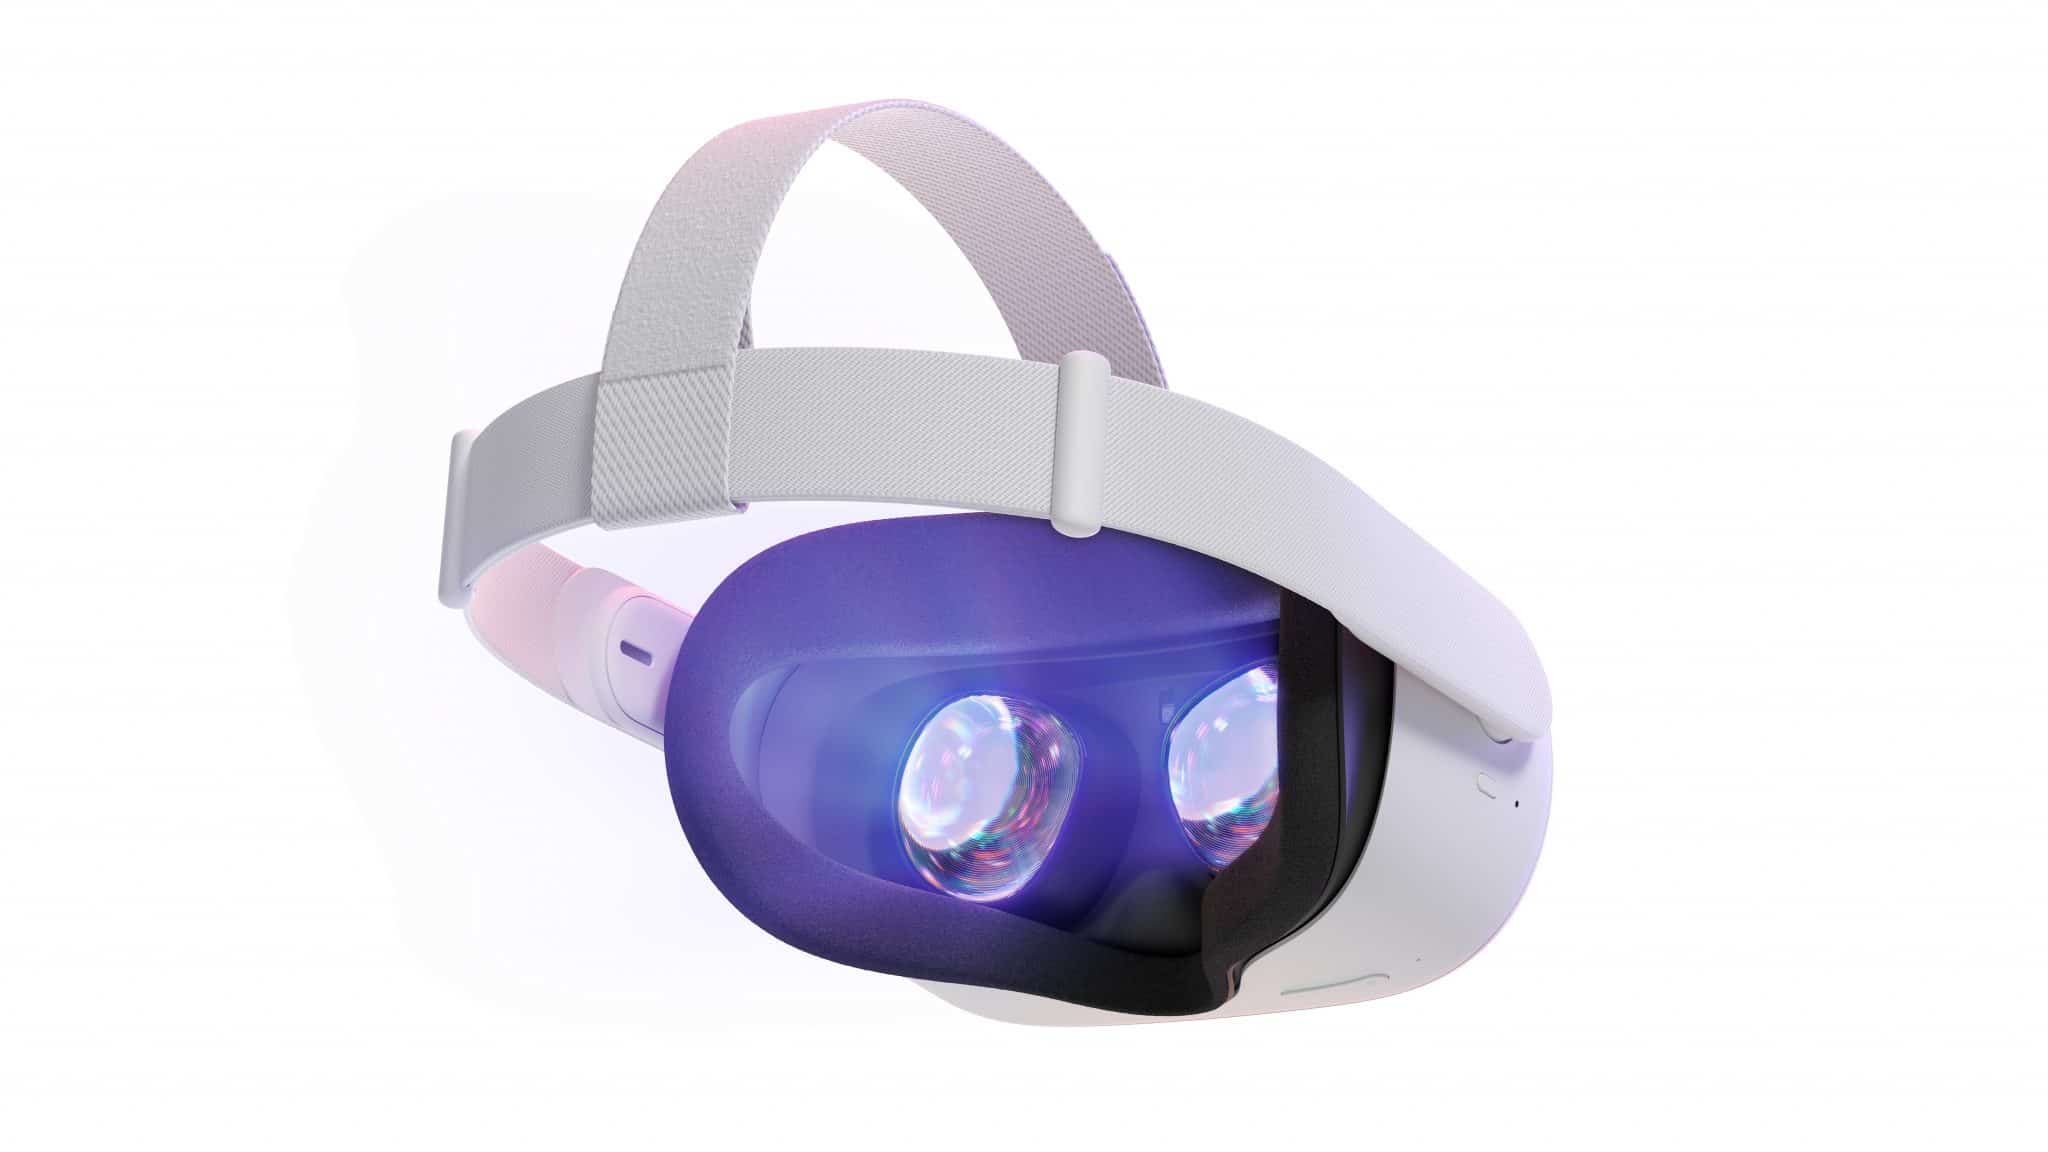
Along the same lines, if you store your Quest outside of an enclosed case, you risk dust settling onto the lenses. This can increase the risk of scratching the lenses while cleaning them, as the dust can create small scratches that can’t be reversed and will likely be noticeable when the headset is in use. Facebook recommends keeping it safe in a case.
Clean with Microfiber Clothes
It’s tempting to quickly clean your Quest lenses with your shirt, but we would strongly advise you not to. Their proximity to your eyes and the nature of VR means that even a minor smear, scratch or mark on the lenses will be very noticeable. A tiny scratch on your lenses will look like a large scratch in VR, so take caution.
The only recommended way to clean your Quest lenses is with a microfiber cloth. Even alcohol-based wipes recommended for regular glasses should not be used on the Quest lenses, as it can damage them in ways that aren’t possible with standard lenses for glasses.
Have you got any basic troubleshooting tips that we missed? Let us know in the comments below.


