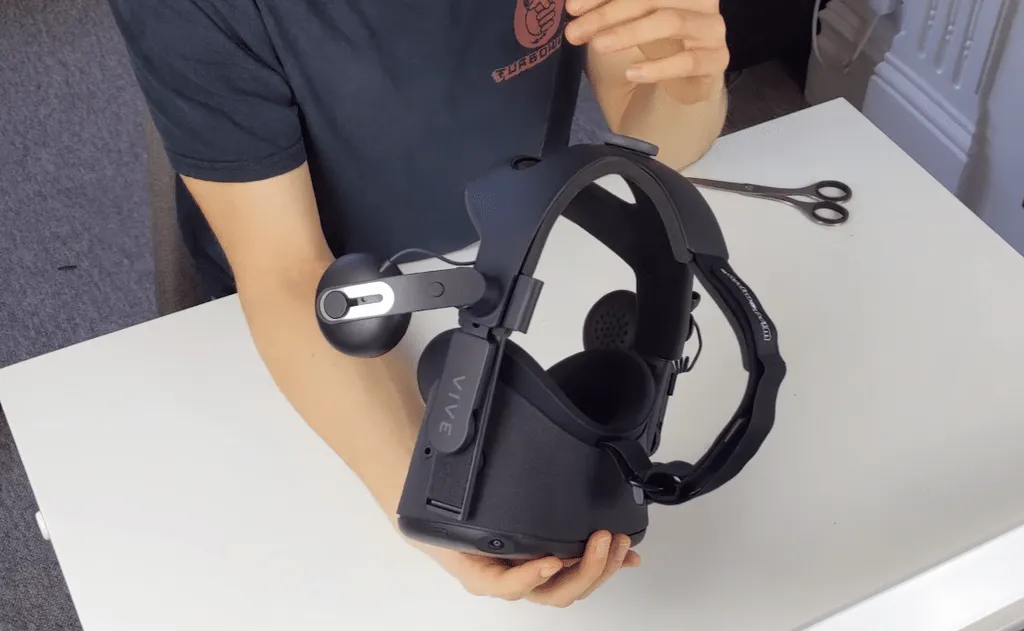
FrankenQuest is arguably the best comfort mod for your Oculus Quest. It makes the headset much easier to use, gives you better audio and doesn’t require you to damage your unit. But how do you make a FrankenQuest? Read on to find out!
Like many of you, I really, really struggle with comfort on Oculus Quest. The headstrap bites into the back of my head while the front weighs on my nose. And yet, again like many of you, Quest is still one of my favorite ways to experience VR and I refuse to give up on it.
And so, a few weeks back I locked myself in my lab (living room) and tinkered away like a mad scientist. I’d planned for a gruelling afternoon of modding, but about 10 minutes later I threw down the switch and, boom, my FrankenQuest was alive.
FrankenQuest is the name given to a mod that removes your usual Quest headstrap, replacing it with HTC’s Deluxe Audio Strap for the original Vive. Now, I have absolutely no experience in modding; I recently ruined a perfectly good Xbox One controller taking it apart to fix a rattle. So I was apprehensive about taking on FrankenQuest, even with constant reassurance that it was easy to do. Well, let my voice join the chorus; FrankenQuest is really easy to do.
Take Note: Though this mod is simple and doesn’t require you to dramatically alter your Quest, take great care when working on your FrankenQuest and only do it if you’re confident in your own ability. The last thing you want to do is end up breaking something you can’t reverse. Those Quests don’t grow on trees.
How To Make FrankenQuest
Step 1: What You’ll Need
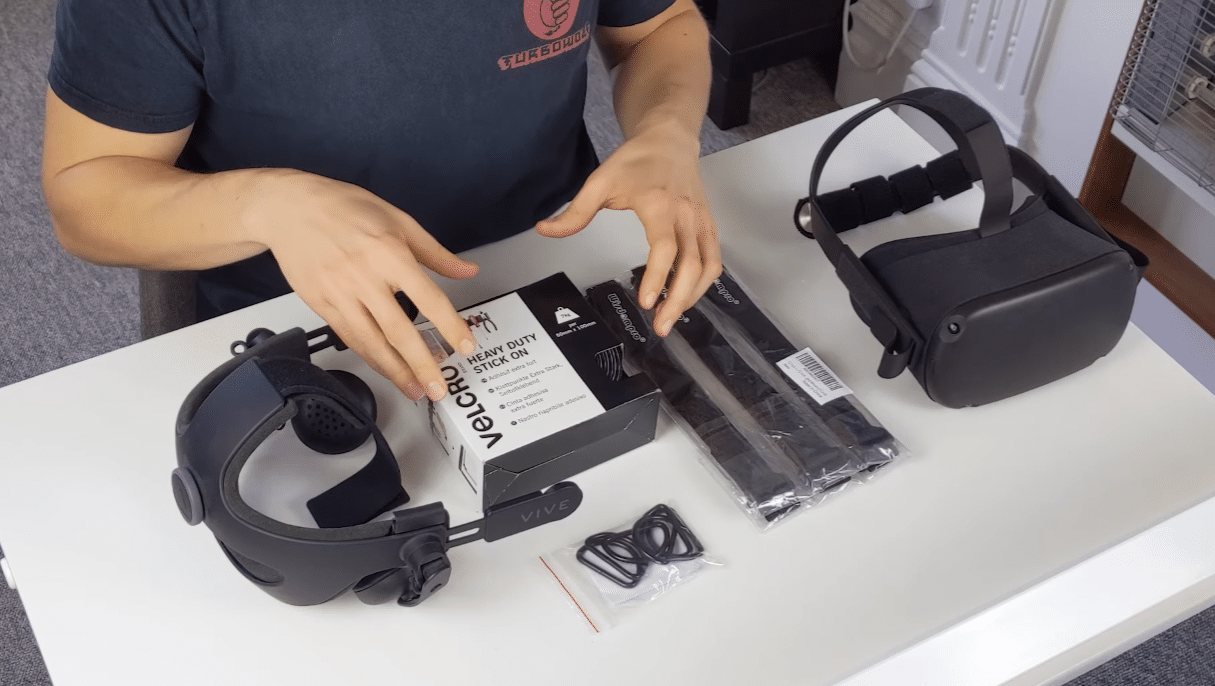
Note that, while making a FrankenQuest itself is an easy job, the hardest and most expensive part of the process is actually procuring the equipment. You’ll need four things to make your FrankenQuest, three of which won’t be a problem. You’ll need some very strong, one-sided velcro tape, a D-ring and a velcro tie that’s one-inch in width. I’ve listed the ones I used in the video above down below, but note I’m in the UK using my region’s Amazon.
The problem here is the Deluxe Audio Strap itself. For starters, at $99, you’ll only want to buy one if you’re sure you’ll be using FrankenQuest permanently (or, hey, maybe if you can attach it to a Vive if you don’t like the mod). But the kit is almost always sold out on HTC’s official store, which means you might be turning to eBay. The trouble is that hikes up the price considerably. We’d recommend waiting for official stock just to save on cash.
- Vive Deluxe Audio Strap (Often out of stock so keep an eye out)
- Strong Velcro Tape
- D-Ring
- Velcro Ties
Step 2: Remove Face Lining And Headstrap From Your Oculus Quest
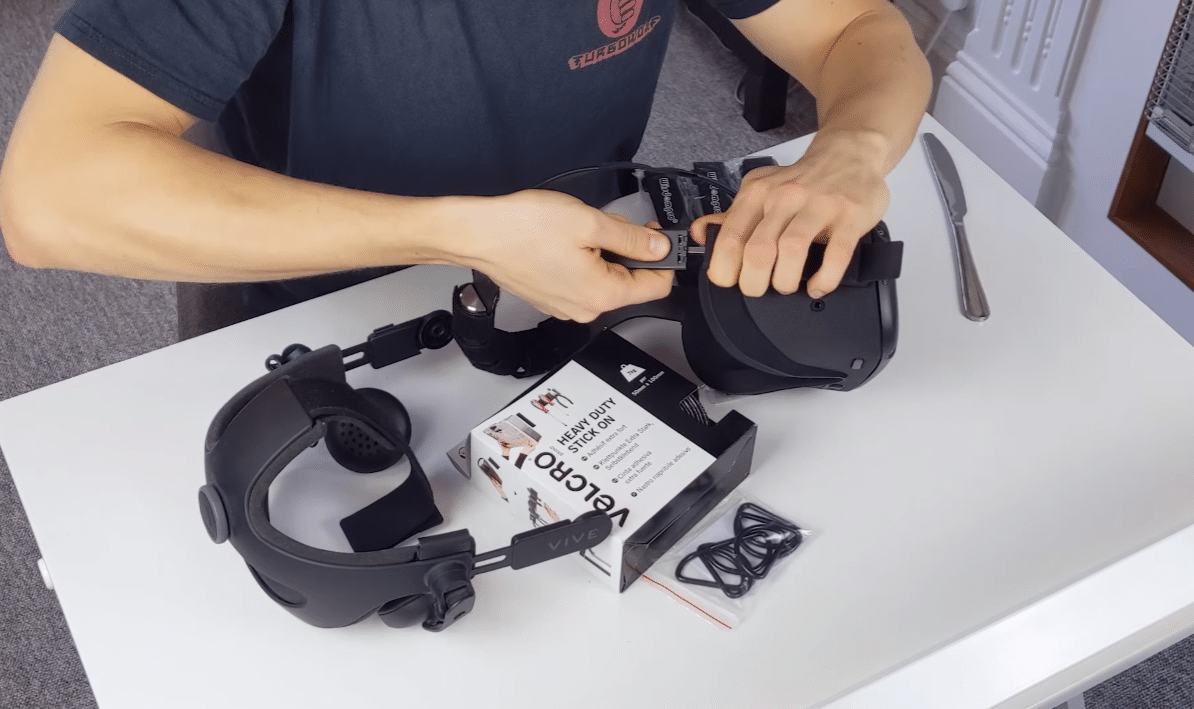
Here’s the bit you might be worrying about but, fear not, you should get out of it unscathed. You can take off the foam lining around your Quest pretty easily and remove the top of the headstrap from there. It’s removing the side straps that’s a little scarier; remove them from their velcro attachments and then start pulling them through the gaps.
You’ll encounter a little resistance here which can make you hesistant to keep going. But by keeping patient and being firm the headstrap came off for me pretty easily with nothing broken. Some suggest using a tool like a knife to help wedge it free but I didn’t need that.
Step 3: Attach Your Strap To Your Headset
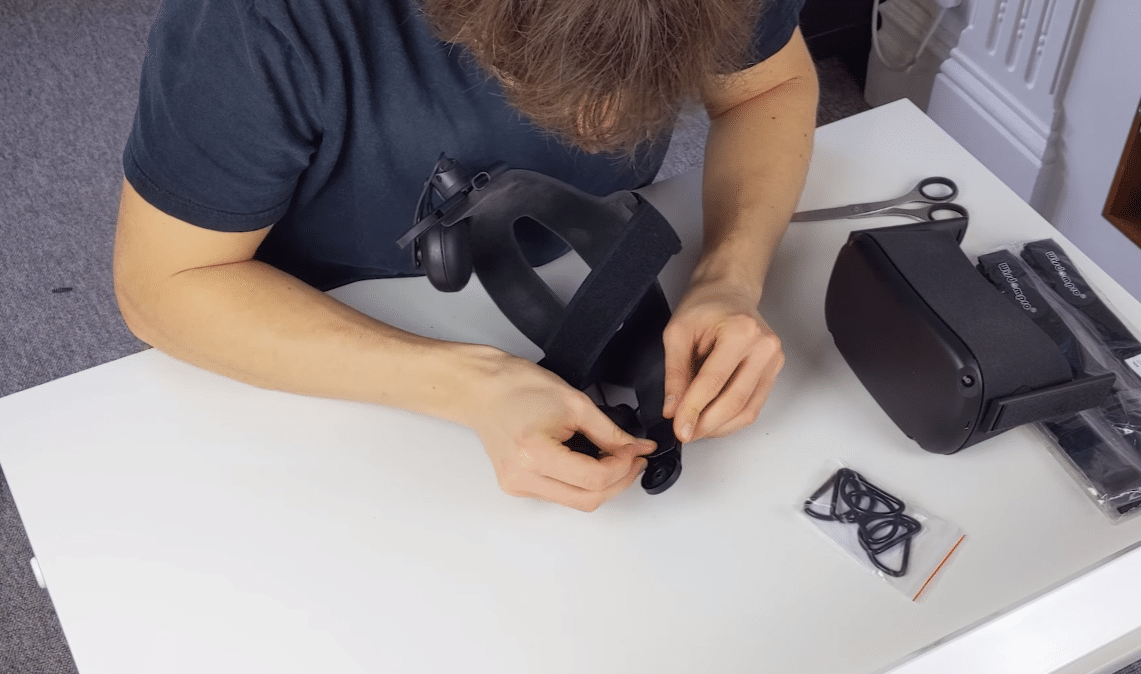
With everything stripped off of your Quest, it’s time to get the Deluxe Audio Strap attached. Find your velcro tape and prepare two pieces of the hard side, one for each side of the strap, right along where it would usually connect to the side of a Vive. You will not need to attach any tape to your Quest; you’re going to take the velcro you’ve attached to the audio strap and stick it right on there.
Now for the overhead strap. Take your velcro tie and thread it through the ring where the old strap used to be on your Quest. Next you need to grab your D-ring, take the top of the Deluxe Audio Strap and thread it through. Loop it over so the velcro sticks to itself, then grab your new velcro tie and thread the buckle through the ring too. Feed the other end of the tie through the buckle and then stick the velcro onto a free part of the Deluxe Audio Strap’s velcro.
And, hey, look at that; you’re done! You’ll probably need to play around with the straps at the top a bit more to get the right feeling for you but don’t forget the Deluxe Audio Strap has a knob on the back to twist to adjust how tightly the headset fits to your face. You can plug the audio jack into the side of the Quest and enjoy much higher quality sound in VR straight away.
—
Have you successfully made a FrankenQuest mod yourself, or do you plan to? Why not let us know in the comments below. In the meantime, here’s our list of official Oculus Quest upgrades we’d love to see.


