Oculus Quest users are now able to select their own home environments from a small selection of options provided by Facebook. Some users, however, also found a way to install custom environments in place of the officially available ones.
Update 02/19/20: The ‘Virtual Environments’ tab is now available once again after globally disappearing from the Settings menu. Facebook confirmed that the disappearance was not intentional and should now be rectified across all devices after a reboot. The below method for installing custom environments remains valid.
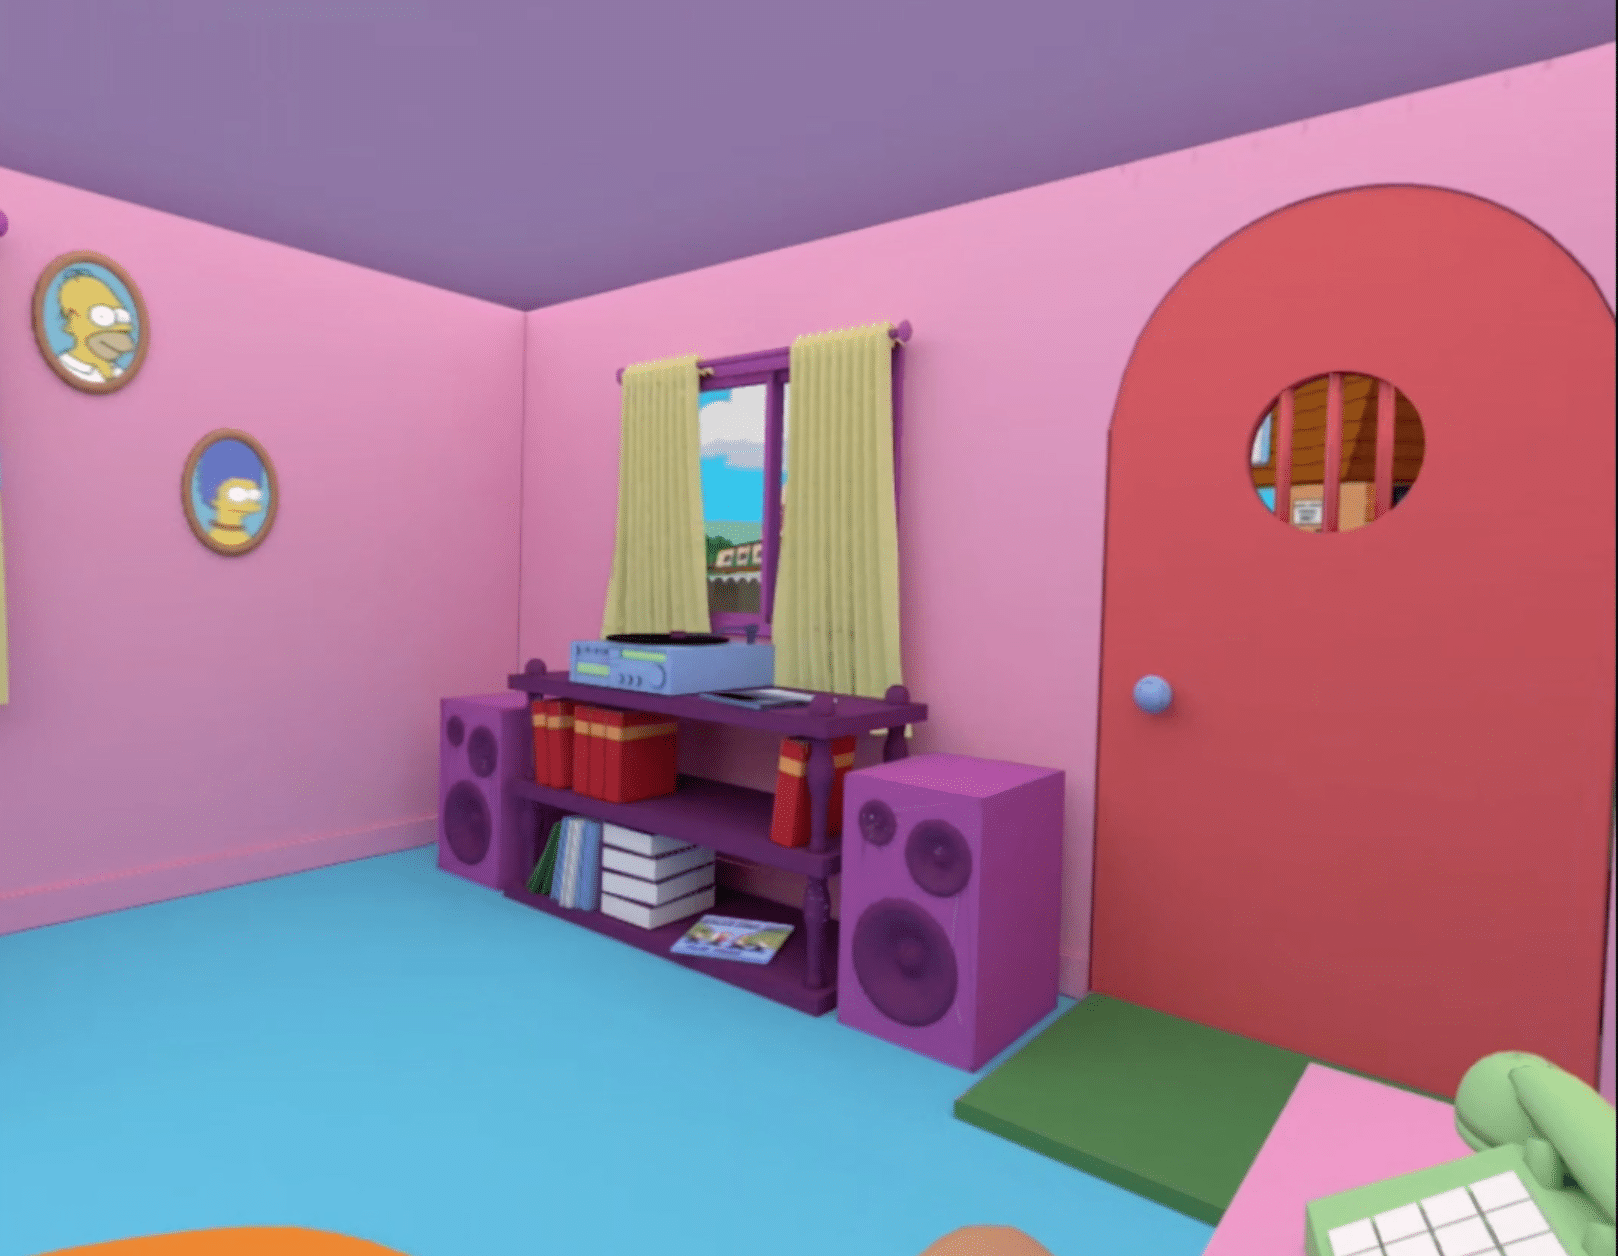
While the new Oculus Rift home and Winter Lodge home environments for the Oculus Quest are pleasant, you might have also seen some amazing custom environments, such as the Simpson’s lounge room or the throne room from Game of Thrones.
Here’s our step-by-step guide on installing custom home environments on your Oculus Quest, using SideQuest.
Before You Start
Perhaps the most important step before proceeding involves checking that the additional environments are available on your Oculus Quest. The custom environments installed below only work because they essentially install themselves over the additional two environment options provided by Oculus, Classic Home and Winter Lodge. However, the environments feature, while introduced last year, is still being gradually rolled out to users. This means that you might not have the feature yet, and will not be able to install custom environments.
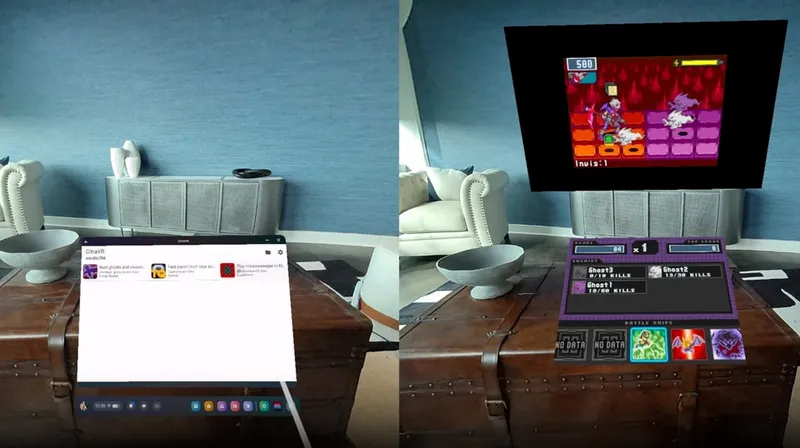
If you’re not sure if you have custom environments on your device yet, simply go to Settings on your Quest, select “See All” and then look for a tab reading “Virtual Environment,” as pictured below. If this tab is present and you’re able to change to Classic Home or Winter Lodge, then you’re all set.
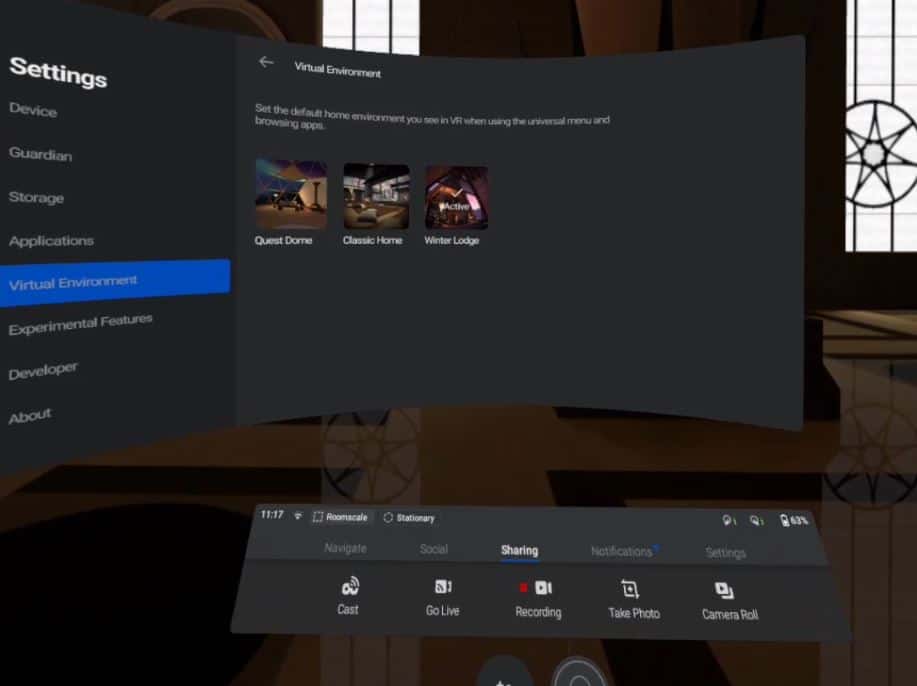
If you can’t see the Virtual Environments tab, then you haven’t received the feature yet. This means that you just have to wait until Oculus rolls out the feature to your device, which could happen whenever.
Some users online reported methods of forcing the feature to enable, however, upon trying to verify these methods ourselves, we couldn’t recreate them and the “Virtual Environment” tab remained missing. If you don’t have Virtual Environments, you will likely just have to wait until you can install custom ones.
Before proceeding, you’ll also need to switch to both the Classic Home and Winter Lodge environments at least once, if you haven’t already, to ensure they’re downloaded onto your Quest before the following steps.
A word of caution…
When sideloading and installing modified content onto your Quest, you do need to keep in mind that you are putting content onto your device that has not been approved by Facebook and could potentially damage your device or be malicious in nature, even if it doesn’t appear so at first.
It is also important to be aware of the Oculus Content Guidelines, to ensure you’re not violating anything with the content you’re sideloading or modifying on your device. You might want to give our report on Oculus’ Content Guidelines and sideloading a read before you jump into the thick of it.
SideQuest
This guide uses SideQuest, a third-party tool that allows you to perform a whole bunch of tasks and modifications on your Quest from your computer. So, to install custom environments, you will need to be familiar with sideloading content on your Quest and you’ll need to make sure your Quest is in developer mode. If you’ve sideloaded content or used SideQuest before, then you can move onto the next section.
If you haven’t sideloaded anything before, or don’t even know what that means, check out our guide on how to sideload content on the Oculus Quest. To move on with installing custom environments, you’ll want to follow the sideloading guide right up until the “Sideloading content from the SideQuest store page” section.
If you’ve followed everything up until that point, you can move on with the guide below.
The Quest Homes Discord Server
The Quest Homes Discord server is the biggest community that we know of for custom Quest environments. There’s a channel specifically for linking new environments for download from creators, along with FAQ and Help channels as well.
You’ll want to join the Quest Homes server and go to #quest-home-environments to find and download a custom Quest home .apk of your choice. You can join the server with this invite link.
In some cases, you’ll have the option to download the environment as a Classic Home or Winter Lodge version. This means that it will replace either the Classic Home or Winter Lodge environment, so if you want to have two custom environments installed, you’ll need to make sure you download one as the latter and the other as the former.
Once you have your custom environment apk downloaded to your computer, you can move to the next step.
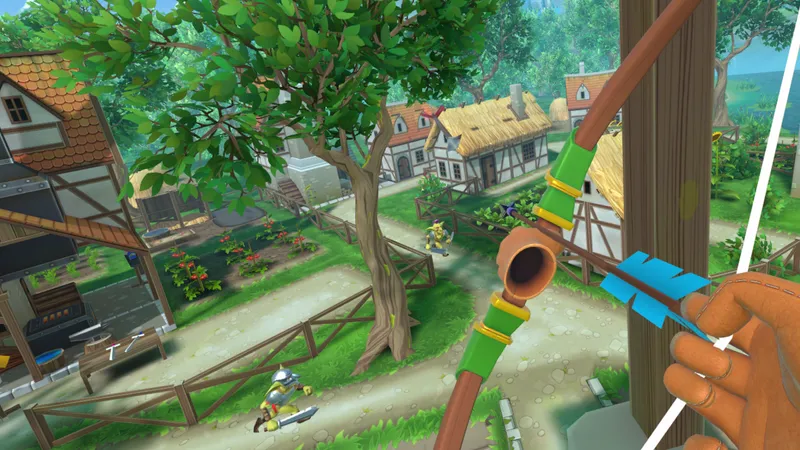
For a few examples of some custom environments we downloaded from the server, check out the video below:
Removing Existing Environments, Installing New Ones
Once you have your custom environments downloaded and ready to be install, follow these steps:
1. Plug your Quest into your computer and open SideQuest
Navigate to the “Currently Installed Apps” section on the top right of the navigation bar (the square grid icon).
2. Use the search function to search for “environment”
This should bring up two results — a package for the Classic Home (Rift Home), and one for the Winter Lodge. Click on the cog next to the one you want to replace, and press “Uninstall App” on the pop-up window.
Which environment you want to replace will depend on what your downloaded custom environment supports. Some environment downloads allow you to choose a Winter Lodge or Classic Home download, while others don’t and force you to replace one or the other with the custom environment. Most download links will indicate this clearly, with a title like “Custom Simpsons Home – Living Room (Winter Lodge).”
Make sure you uninstall the right environment for the .apk file you’ve downloaded.
In the instance that you are replacing both, with two different custom environments, you can uninstall both packages in SideQuest.
3. Locate your custom environment .apk
Once you’ve uninstalled the existing environments, as per step 2, simply drag and drop your custom environment .apk file onto the SideQuest window. It will then install the custom environment in place of the old one. You can check the install progress in SideQuest’s tasks tab in the top right of the navigation bar.
Switching Environments
Once installed, you can switch environments in the Virtual Environments tab in your settings.
However, note that the settings icons won’t change to your custom environment — if you replace the Winter Lodge environment with the Simpsons living room, it will still show up as the Winter Lodge in settings. When you switch to that environment, however, your new custom environment should display.
If you want to install other custom environments in the future, simply follow the same steps above to uninstall your current environments and replace them with new ones.

Restoring Old Environments
To restore the default Classic Home and Winter Lodge environments, simply follow steps 1-2 above to uninstall any custom environments from your Quest, using SideQuest. Then, if you go back to the Virtual Environments tab in your Quest and switch to one of the default homes, your Quest will redownload the default environments once again.
Before doing this, we recommend switching back to the uninstallable, default ‘Quest Dome’ environment to avoid any complications. If you encounter any problems with your home environment disappearing completely while switching or uninstalling environments, try restarting your Quest.
Some Notes
When installing a custom environment, it will retain the ambient noises of the default environment it replaces. For example, you might still be able to faintly hear the crackle of the Classic Home’s hearth when using the Simpsons Living Room environment.
Some custom environment downloads also offer audio replacements, with music that often matches the theme of the environment. The process for installation for these variant environments should stay roughly the same, but we would urge users to proceed with caution. While we haven’t tested custom audio in environments ourselves, we have seen reports of custom audio persisting in environments even after switching environments or uninstalling the environment in question.
That should cover everything you need to know on how to install custom Oculus Quest home environments. Any questions? Let us know in the comments below and we’ll try to help out where possible.
This article was originally published on the February 11 ,2020 and was updated to indicate that the ‘Virtual Environments’ tab disappeared from users’ Settings menu on February 12, 2020. The article was updated and republished on February 20, 2020 to indicate that the tab is now available to users once more and that the disappearance was not intended on Facebook’s part.