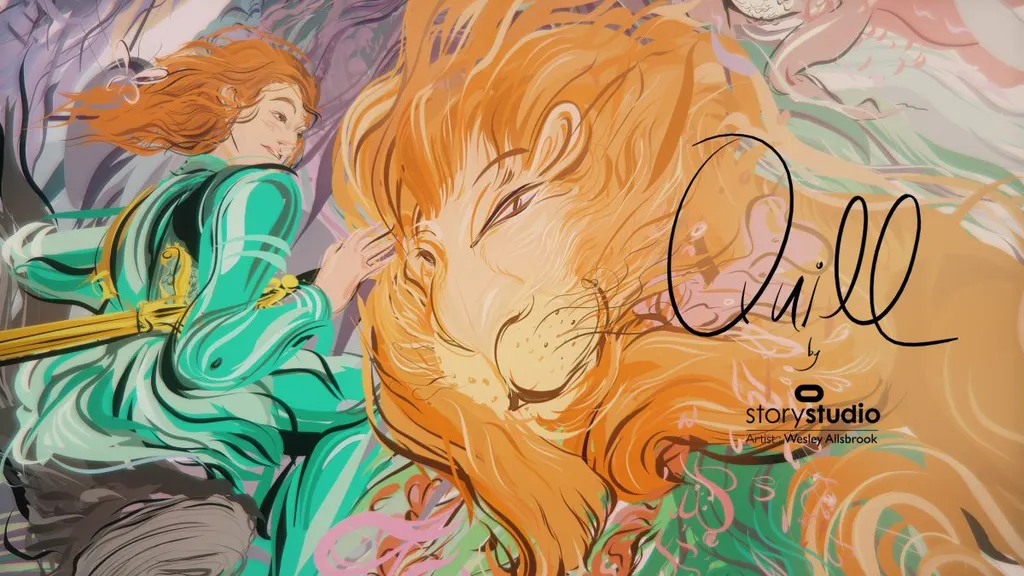
People are starting to sink their teeth into Oculus Touch content with gusto. The shooters, sports and action games are all garnering decent followings but there’s much more to do with Touch than shooting zombies and blocking slap shots. Oculus Medium and Quill are the two big Touch experiences that focus on creativity. Medium focuses more on 3D sculpting while Quill takes a first-of-its kind, sketchbook approach to VR artistry.
After laboring for hours on end to craft the perfect immersive creation the next thing you’ll naturally want to do is share your masterpiece with your friends. Quill doesn’t have any obviously accessible sharing features but we reached out to Oculus and asked how aspiring artists can share their creations with the world.
The following was sent via email by an Oculus representative. It might get technical at times but once you get the hang of it you’ll be unleashing your creativity upon the Internet:
“You can save your Quill drawings and send them to friends as a zip file and they can load them on their version of Quill by using the file browser.
We’re looking at building in more sharing features in the future.
And if you want to export out of Quill (screenshot or video capture), you have the below options:
-If you bring up the Menu (hit “Y” on your left controller – assuming you’re right handed)
-Navigate to the File menu by pushing the circle button at the bottom of the menu that looks like a folder
-At the top of the File menu, you’ll see an icon for a still camera and an icon for a movie camera
SCREENSHOT CAPTURE
-If you select the still camera icon, you can choose the file location where you want to create the screenshot and the dimensions of the screenshot you want to capture. You can specify up to a very high resolution 8k x 8k image.
– Then push “Take Screenshot”.
-If you then put the File menu down, you’ll notice a framing gate in your view. Look in the direction of the picture you want to take and then hit the trigger on your dominant hand (your drawing hand)
-Once the picture is finished rendering, you’ll find a png file in the location you chose.
–NOTE: based on the dimensions of the image and the complexity of the scene being captured, screenshots can take several seconds to finish.
VIDEO CAPTURE
-To take a video capture of your experience, select the movie camera icon at the top of the File menu.
-Just like with screenshot capture, you can choose the file location where you want to create the recording.
-You can change whether you want to create an AVI movie or an animated GIF. We recommend exporting an AVI file because it’s much faster to export. GIFs take longer to export but may be easier for displaying online.
-You can select resolution and the rate of capture. Note that larger images and higher capture rates will take longer to export.
-Then select “Start Capture”
-Once you put the menu down, you’ll notice the same film gate you had with screenshots. This time, however, the app will record whatever you are looking at while you are holding down the trigger on your dominant hand. You’ll know you’re recording by hearing a classic old time camera sound and you’ll see the filming gate turn red. You can record multiple takes that will be strung together once you decide to “stop capture”
-When you’re done recording, bring back up the menu and hit “Stop Capture”. You’ll notice a progress bar come up that will let you know how much more work is needed to finish the export. Once the export is completed, you’ll be able to find the AVI or GIF file in the specified file location.
– NOTE: while recording, there can be a performance slow down depending on the resolution and the capture rate. There is also a maximum limit of 1000 frames of capture which is 33 seconds at the highest capture rate.
360 CUBEMAPS and CUBESTRIPS (ADVANCED)
-In the screenshot capture mode, you can select the option to create a 3D cubemap or a cubestrip (called vstrips)
-The resolution you pick in this mode determines the width of one of the 6 sides of the 360 capture. WARNING: cubemaps and vstrip files can be big files!
-You create a cubemap in the same way you do a screenshot. Where you’re looking and where your head is at will determine the “forward” direction and the center of the 360 capture respectively.
-If you select the “vstrip” layout, you can view the results in the Oculus 360 Photo app.
–NOTE: If you want to upload, a 360 photo to Facebook, you’ll need to convert the cubemap into an equirectangular format and add the appropriate meta data. This can be quite technical and time consuming. We plan to provide a layout mode that will automatically export equirectangular with the metadata already embedded in a future update to Quill.”
One of the most amazing parts of Quill is entering the worlds created by others. Now that the best practices have been released go ahead and get creating.