Buckle up, VRgonauts! In this installment we’ll take a deep and hurtling dive straight into the belly of the production beast, where uncertain dangers bubble up and burn through our best laid plans like a bad case of acid reflux.
At this point in the production we’d gotten the approval on our 20-second proof-of-concept test from our client, TED Ed. We had been down numerous dead-end pre-production paths and had finally hit on a winning strategy: Build the 360-degree stereoscopic animation in After Effects and then upload the rendered video to YouTube for final presentation on the Cardboard platform.
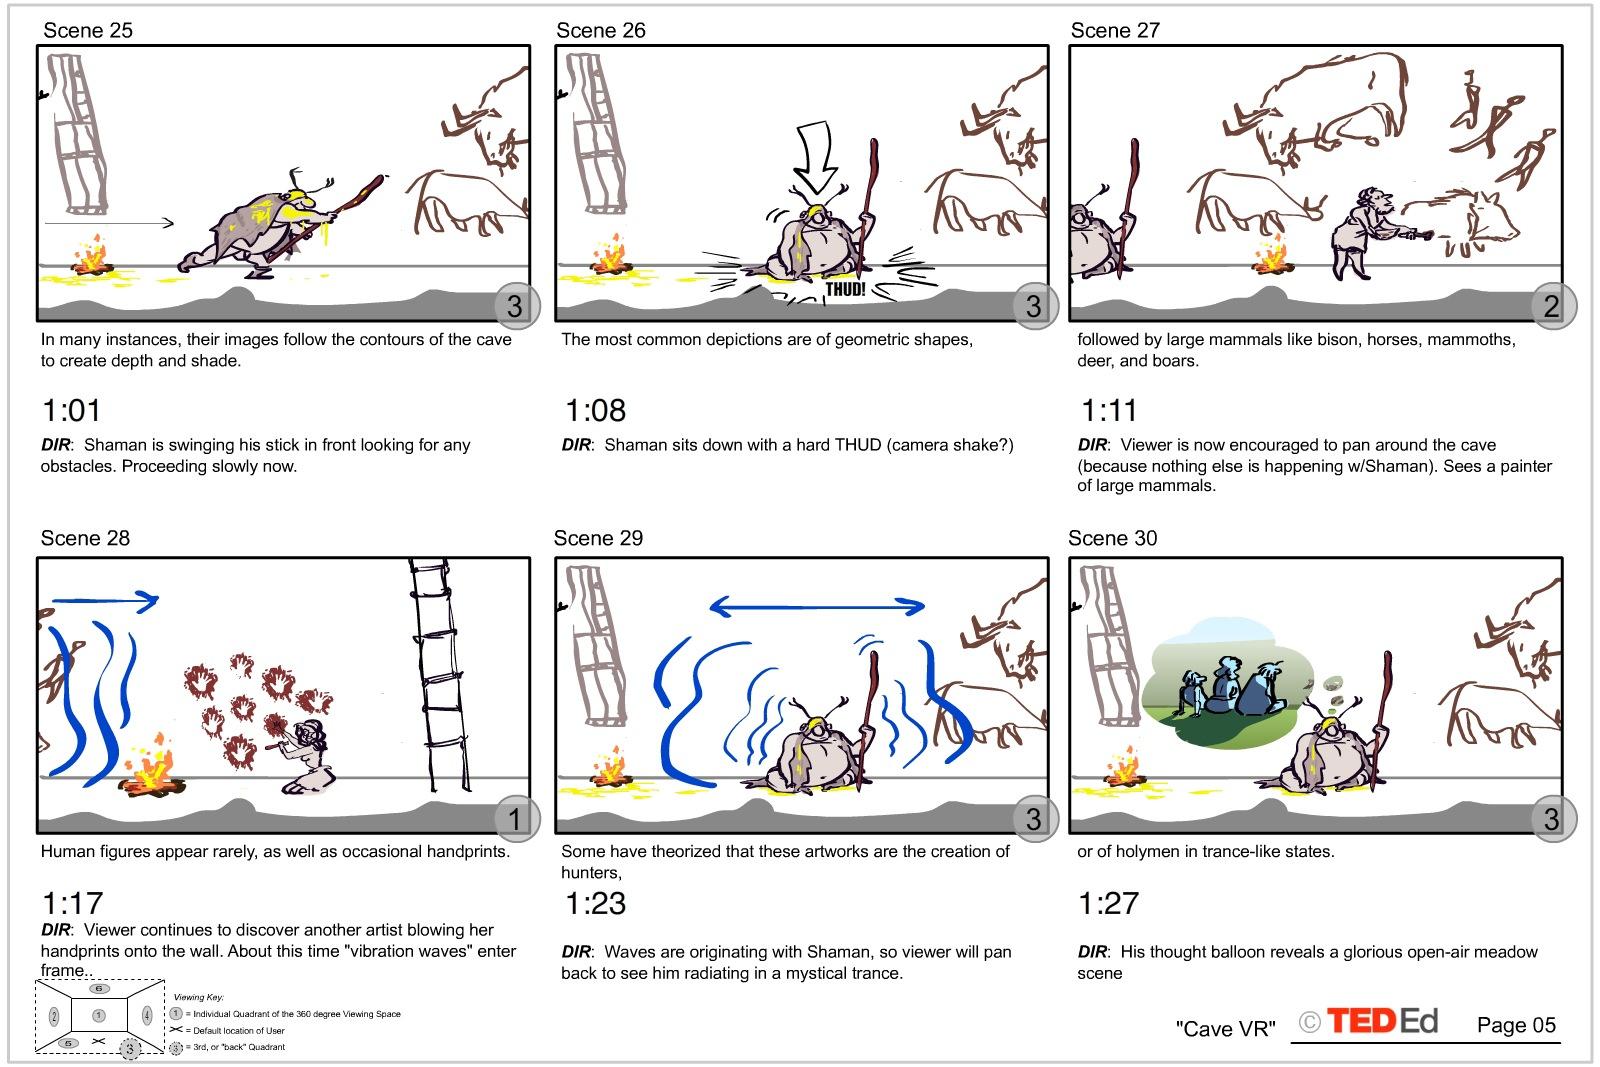
I was feeling deadline pressure to create the storyboards as soon as possible because by this time the script was finalized and approved. The problem was that I still hadn’t decided on a visual style for the education aspect of the short. TED Ed’s lessons are just that–real educational presentations told by utilizing all of the tricks in the animation toolbox. In a normally framed 2D production I would identify the major teaching moments in a given script and design those main pieces first. Then I would work on their periphery, designing transition sequences in and out of the main teaching highlights. The difference in designing for VR is that as a director, I cannot force the viewer to absolutely look where I want them to look, when I want them to look there. There are certainly some screen direction tricks I could (and did) employ, like having nothing visual moving anywhere but one spot in the 360 space. Or having the subtle ambient soundtrack suddenly present a stinging audio hit to alert the viewer to look around for the cause of the sound. But that tool set is limited and gets tiresome after a surprisingly short amount of time. I came to realize that I needed to let the voice-over track run without assigning visual “hits” to it, as I would normally do. Rather, I would let the VO run on its own and I would design set pieces that encompassed all of the details spoken about in the narration. By not having to isolate each teaching moment in turn, I was never forcing the viewer to continually search the environment for where to look next. This was a huge breakthrough because it freed me into thinking about larger set pieces that could contain major chunks of the story. I ended up dividing the piece into four discreet environments, each with its own character, ambiance and “feel”.

When I was finally able to start laying out the piece in Adobe Animate (Flash), I encountered a host of challenges that are endemic to creating for 360 video. For instance, where exactly is the horizon line? And how large should the characters and objects be? Since there is currently no way to actually animate traditional 2D artwork inside of the VR environment, these visual decisions had to be made on the flat monitor screen, rendered as 360 stills, and then viewed in the Cardboard player to critique their various components. This required an enormous amount of back-and-forth renders. But by the middle of the production, I grew accustomed to the specific visual boundaries that we’d set up, and I found that I could reliably design on the flat screen while visualizing how it would translate into the VR world.
When it came to picking colors, I was dismayed to learn that every phone model has a different visual color temperature and character (even successive iPhone models). Hence I needed to pick what I thought were the best overall palette colors and let the chips fall where they might. This took me back to the frustrating days in the early 90s, when it was effectively impossible to know exactly how a CD ROM’s visuals would be viewed because there were hundreds of different computer monitors and I just had to kinda, sorta, aim for the middle ground. Today’s VR tech set up is virtually the same. So, although I was frustrated by the fact that I didn’t have total control over the presentation of the artwork, this was familiar territory to me.

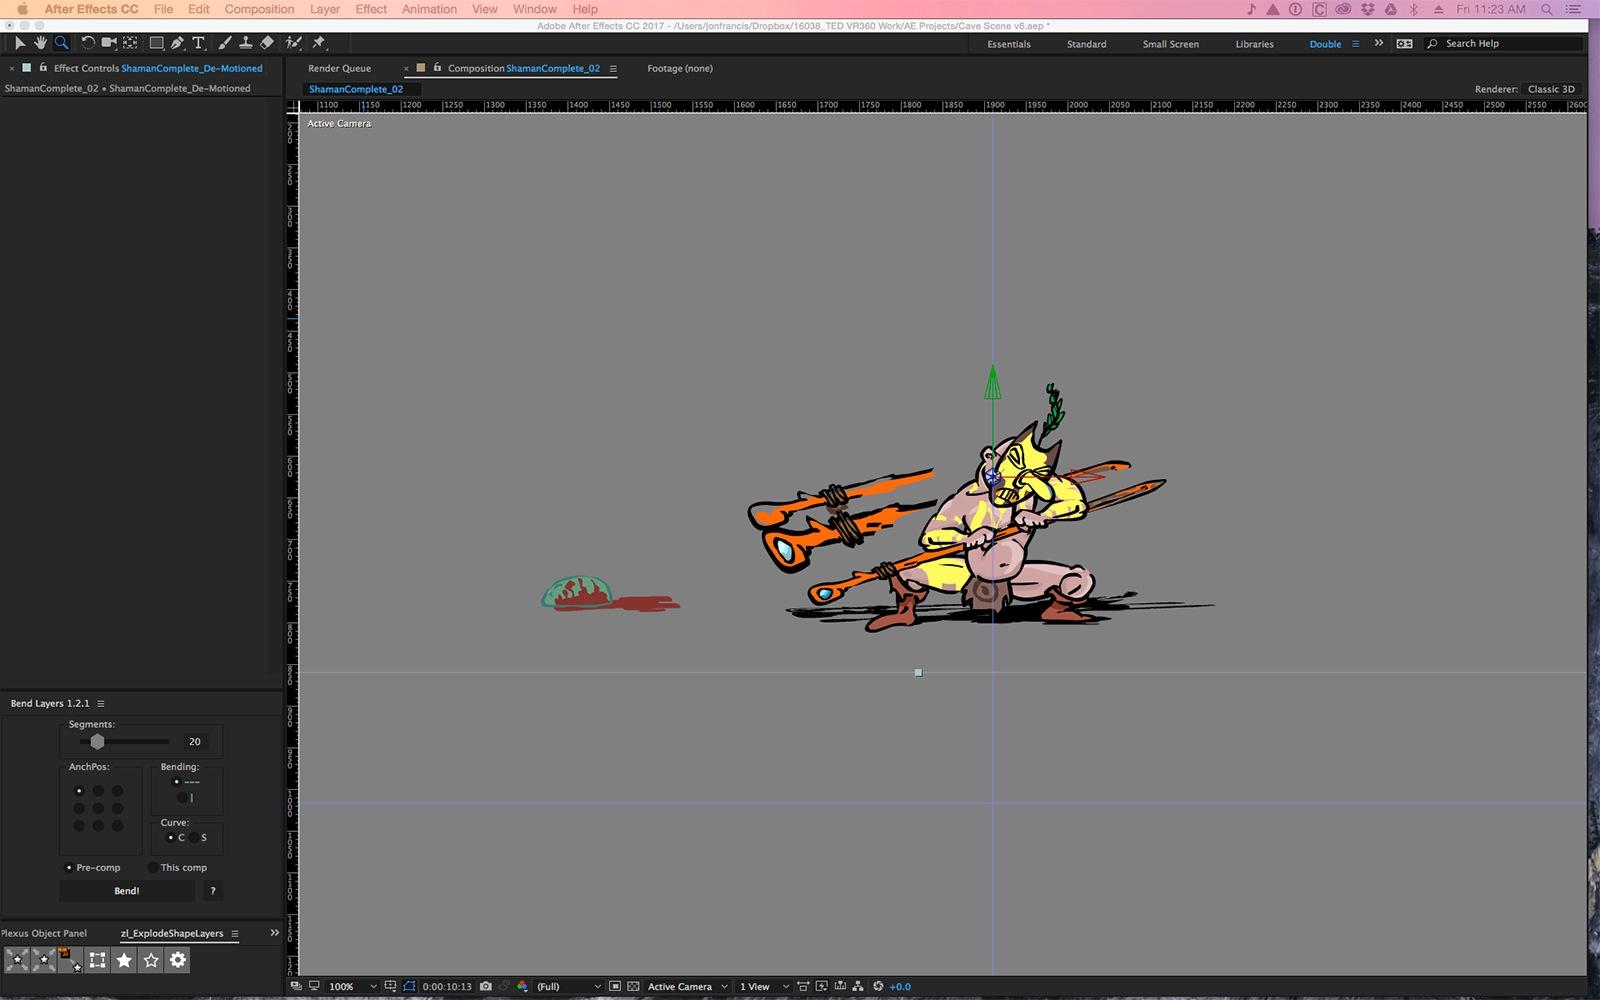
When we finally got head-down into production, the animation itself contained a lot of hidden challenges. For instance, we ended up having to almost animate the entire piece twice because After Effects and Animate don’t really “play well” together. There is no way to take Animate’s timeline directly into AE and protect the timing and layers of elements. Instead I had to create the entire piece in Animate, then break it all apart and isolate each animated element. Then I had to render out multi-framed .pngs for Idle Hands to import into AE. They basically re-created my Animate timeline in AE. This is one particular hitch where Adobe can do a lot more to streamline the process by having these two apps speak to each other in a more friendly manner.
After all of the individual animated elements were exported, it was up to Idle Hands to place them into the 3D environment. We then had to design and define the depth of everything in that environment, which involved creating separate views for each eye. Initially we simply entered a horizontal offset. But while this looked great in some areas, it didn’t work everywhere. In certain locations it almost looked as if the background wall was in front of the characters. After some noodling, we determined we were only getting the proper right eye/left eye perspective in a single location; as viewers turned their heads 90 degrees everything flattened out, and looked like it was all at the same depth. At 180 degrees the eyes reversed, making distant objects look close and vice-versa. It quickly became apparent that the solution was more complex than we’d thought, and that it was going to involve a fair amount of math. The big breakthrough came when IH was able to sort out that math and place it into a custom algorithm. And it worked! That was a happy day – toasted with lots of espresso and (more) tequila – when we were finally able to get consistent results with depth rendered accurately around all 360 degrees.
Watch a brainstorming session to determine how fires should light inside the “Mid-Cave”.
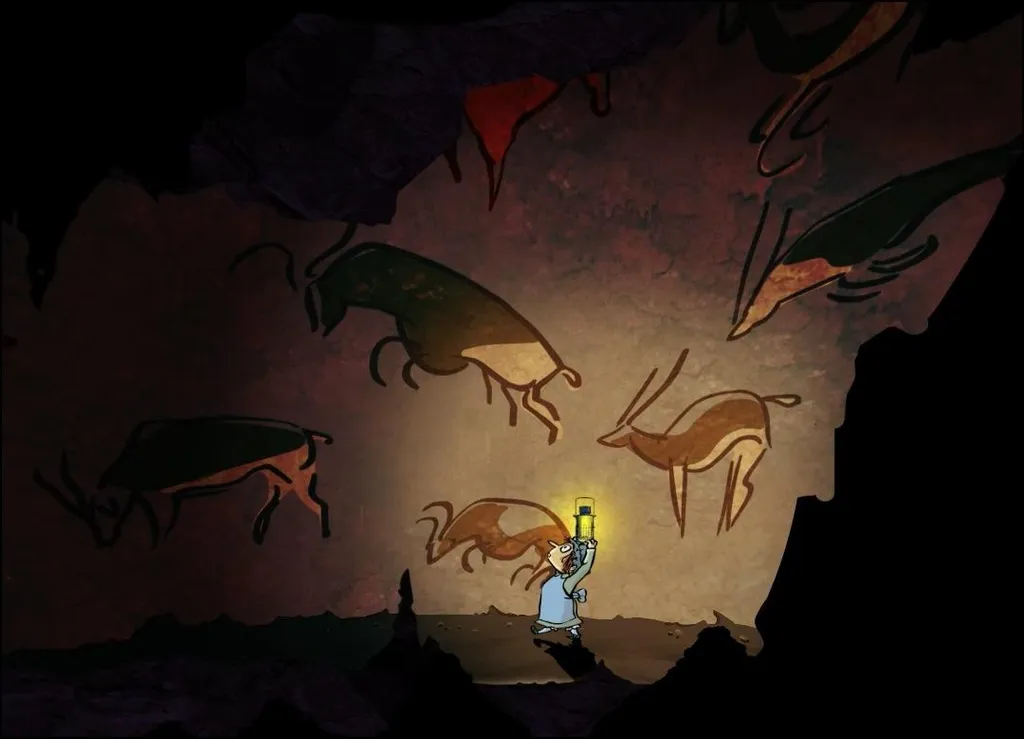
While I continued to create all of the animation, layouts, and backgrounds, one particular pebble would not dislodge itself: I was unsatisfied with the last environment. It was a modern-day bedroom featuring a guy in a VR headset (“the Jockey”, we called him). It worked “well enough”, but something about the concept felt unconnected to me. At this point in the process I had been living and breathing the project for 14 months straight and rarely ventured outside my studio. However on a lark I decided to attend a local poetry reading in the hopes that it would recharge me to keep up the production pace. I was blissfully relaxed and just allowing the poems to flow over me when I had a proverbial lightning flash and saw that I should transform that generic bedroom into another cave! A modern day “Man-Cave” where our “Jockey” was creating contemporary VR artwork in his dark lair, just as his ancestors had done in theirs. The ending now tied up with a nice bow, I thought.

So I continued to huff and puff, and Idle Hands continued to re-animate and render, and in time we methodically chugged apace through the entire piece. Only one element was missing: the final 360 degree spatial sound design. Now, how hard could THAT be?
Stay tuned to our final installment: “The Sound Of NO Hands Clapping”.
Michael “Lippy” Lipman is a classically trained 2D animation director who first found success as a feature film animator in Hollywood. With the introduction of interactive media he transitioned to producing major entertainment pieces for CD ROMs, console gaming, online advertising, and internet-based animation. Currently his company 360360VR is enlisting VR/AR technologies to further the immersive storytelling possibilities for his client, TED Ed and others. He lives in the San Francisco Bay Area.


