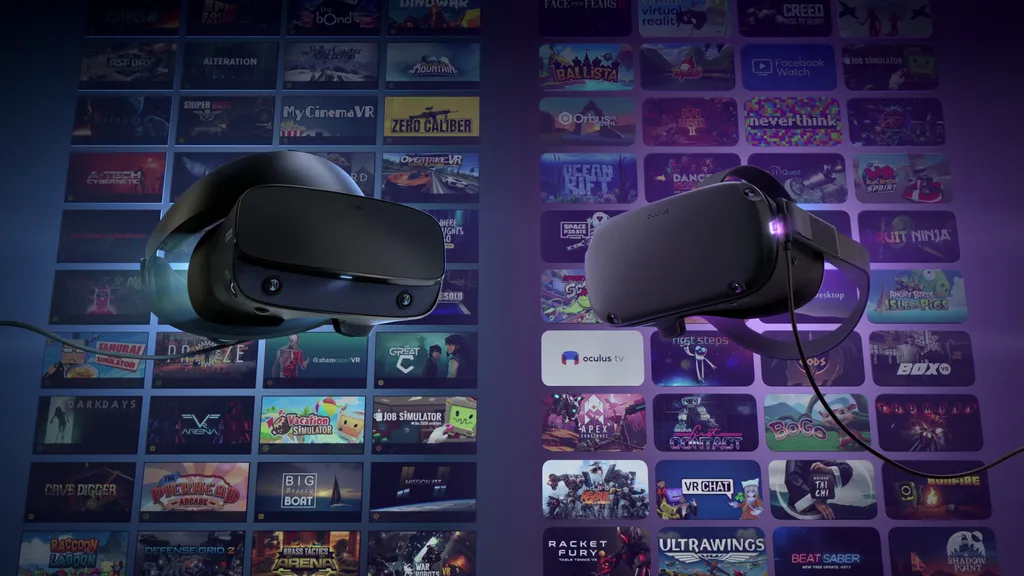
Facebook revealed that Oculus Link is now available in Beta, allowing owners of compatible PCs to play “Rift-quality experiences” on their Oculus Quest while tethered to the PC with a USB 3 cord.
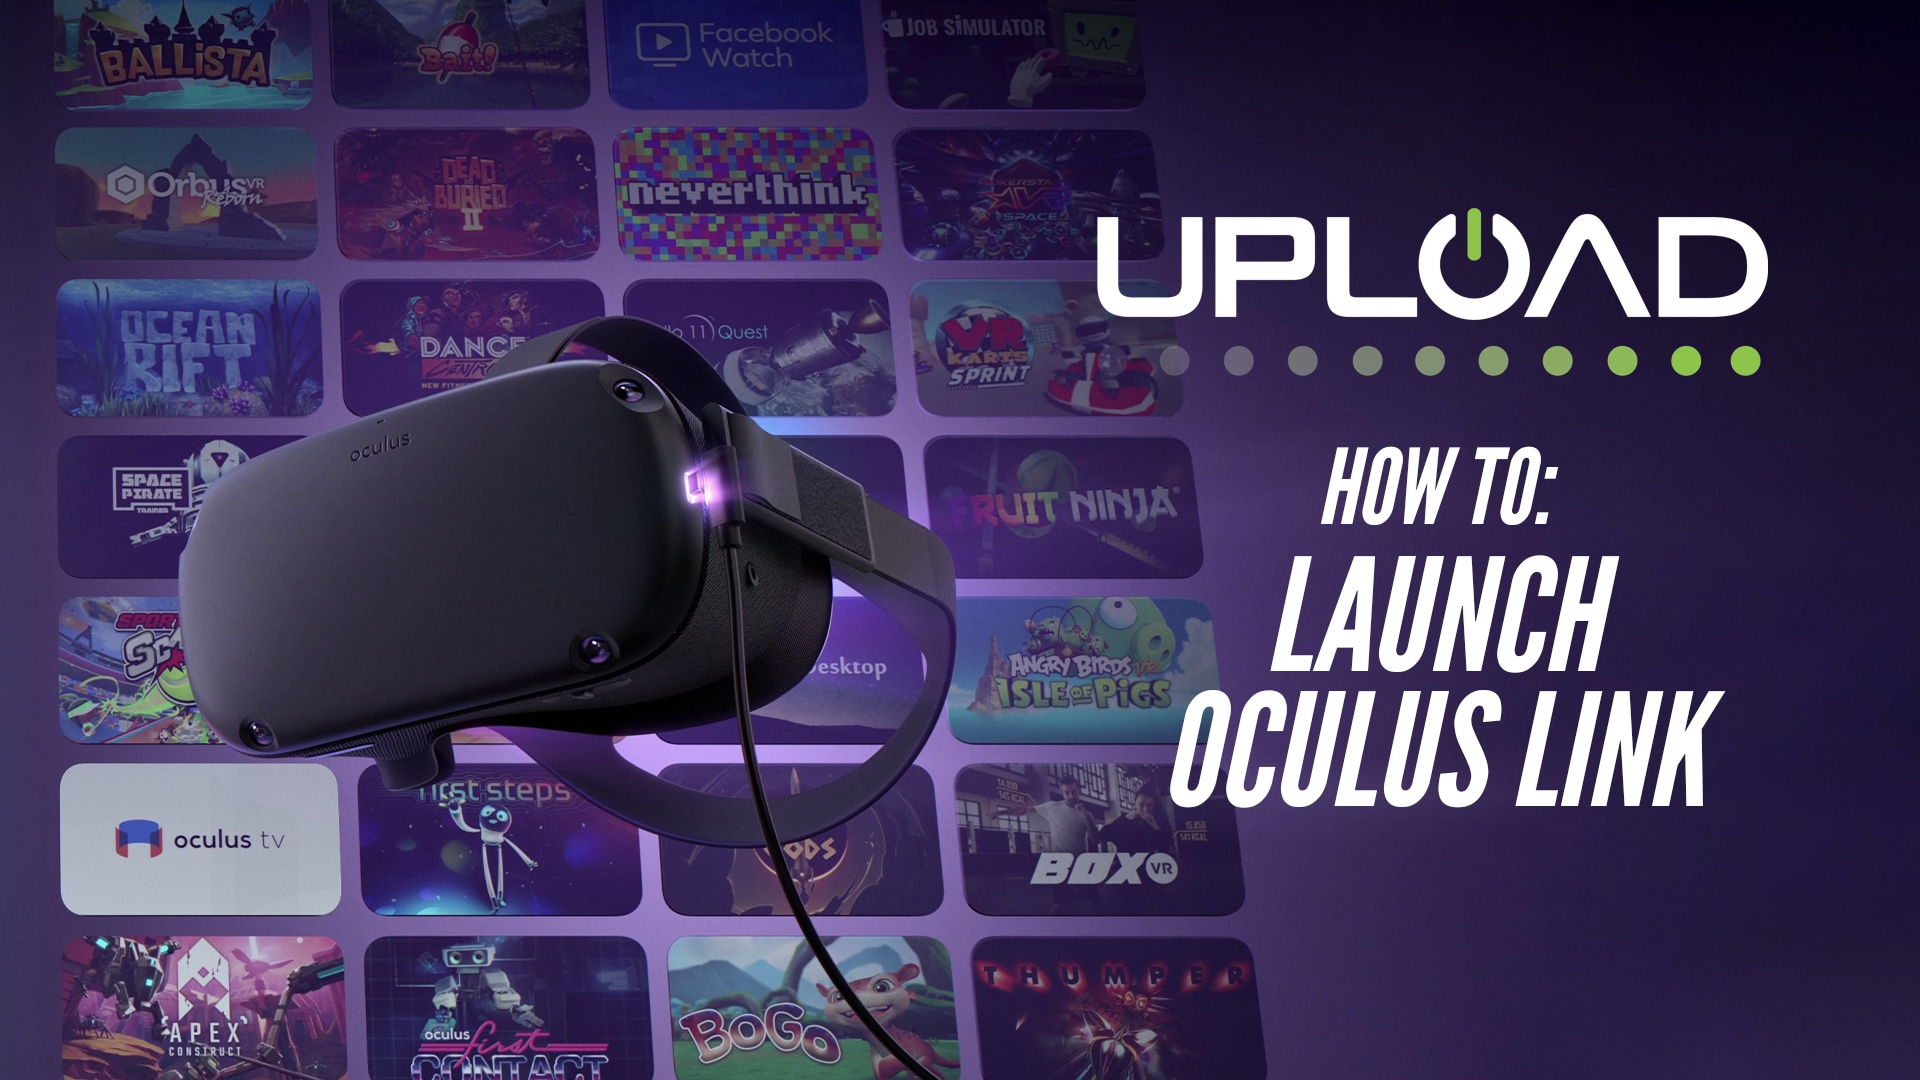
With Oculus Link now in beta, many users will be able to jump into PC VR and Rift-exclusive games such as Asgard’s Wrath or Stormland on their Quest, essentially turning the headset into a Rift while tethered to their PC.
Facebook provided us with steps on how to launch Oculus Link and start using Rift content on your Quest while tethered to your compatible PC. However, before you get started, there are some things that you’ll need to ensure are set up and ready to go before you start using Oculus Link.
Ensure your PC is compatible with Oculus Link:
Not all PCs are compatible with the Oculus Link Beta, even if they are “VR Ready” PCs.
For the beta launch, only certain GPUs are supported. The NVIDIA Titan X and all NVIDIA GTX 1070, 1080 and 16-series cards are supported. Likewise, all the new NIVIDIA RTX 20-series cards are also supported.
No AMD GPUs are currently supported, but Facebook is “currently working directly with AMD to support as many of their cards as possible by the time we exit beta and expect to add support for some cards during the beta.”
You will also need to be running Windows 10, have at least 8GB of RAM, a spare USB 3.0 port and a CPU that is equivalent or greater than an Intel i5-4590/AMD Ryzen 5 1500X.
Compatible cords:
For the Oculus Quest Beta, you will need a USB 3.0 (either USB C to C, or USB A to C) cord to connect your Quest to your PC.
Facebook recommends users check that they’re using “a high-quality USB 3.0 cable capable of supporting data and power.”
Later this year, Facebook will release their own official Oculus Link cord for a “best-in-class experience with maximum throughput while using Oculus Link.”
We don’t yet know which brands of third party cords will be the most reliable with Oculus Link, however you can compare the specifications of your cord to the official Oculus Link cord specifications for clarification. Facebook representatives also said they’ve had good results with one cord, available for $13 on Amazon.
Keep an eye out for more information on confirmed cords that work reliably with Oculus Link in the future.
Update your Quest and Oculus App:
Your Quest firmware must be on at least version 11.0 or higher to support Oculus Link. You can check this, and try and force a manual update, in the Quest settings.
Your Oculus PC app must be updated to at least version 1.43, which you can check by clicking on settings on the Oculus app and scrolling to the bottom of the general tab.
If your Oculus app doesn’t seem to be updating, you can try going to the settings and opting into the PTC (Public Test Channel) releases. If you’ve already opted into the PTC, try turning the PTC switch off and then on again. In our experience, we’ve found that this sometimes forces the Oculus app to update, even though it isn’t a PTC release. You can opt out of the PTC releases again after the update has downloaded.
Facebook also recommends restarting your Quest headset before attempting to launch Link for the first time.
Launching Oculus Link on your Quest:
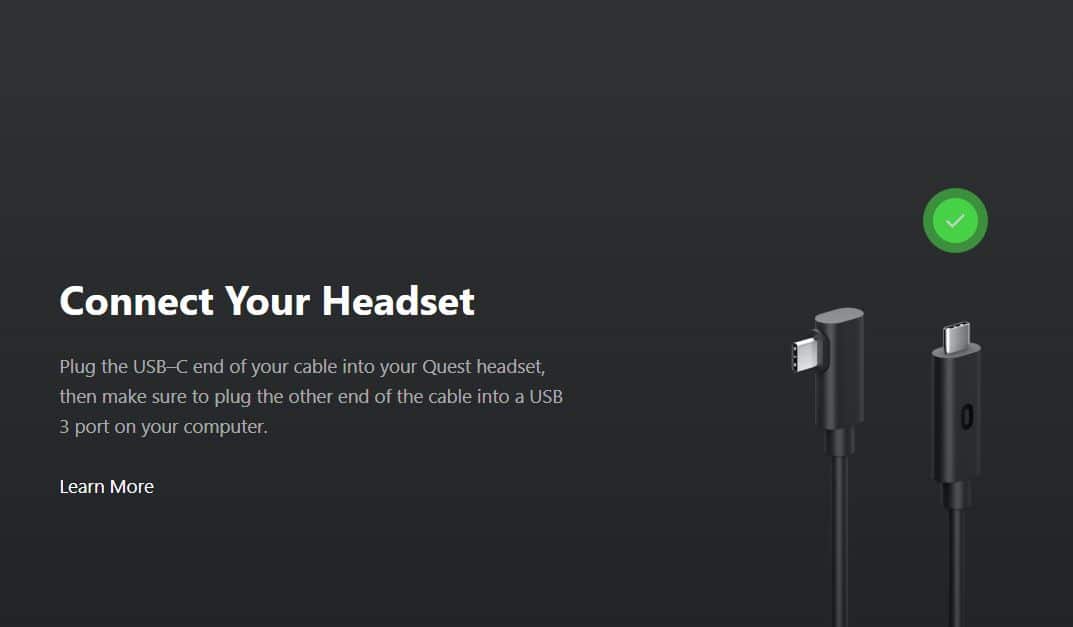 The following instructions should get you going with Oculus Link on your Quest:
1. Open the Oculus app on your PC.
2. Turn on your Quest.
3. Plug your USB 3 cable into a USB 3.0 port on your PC, then plug the other end into your headset.
4. If you are prompted with ‘Allow access to data’, select Deny.
5. Next, you’ll be prompted to Enable Oculus Link (beta), select Enable to begin remote rendering via Oculus Link.
For more info on Oculus Link, you can check out our guide on everything you need to know here.
Correction Nov. 19: The version number of the PC Oculus software needed for the Oculus Link Beta was incorrect in a previous version of this post due to a typo in the Oculus support materials. It is now correct.

