Already sliced and shot your way through The Walking Dead: Saints & Sinners – Aftershocks? Then you’re probably wondering what the hell those keys are good for.
Don’t worry, we’ve got you covered.
Note: Obviously there are spoilers for The Walking Dead: Saints & Sinners – Aftershocks included in this article. If you want to go in fresh, best avoid!
What Are The Walking Dead: Saints & Sinners – Aftershocks Keys?
As you play through Aftershocks, which is accessed after the main campaign is over, you should find three keys. Each is a different shape – there’s a square, triangle and circle. They are missable in the campaign, but I found them near cache drops and off of dead enemies too. Once you’ve completed all of Aftershocks’ main objectives, you’ll have just one task: find out what the keys are for.
How Do You Start The Walking Dead: Saints & Sinners – Aftershocks Keys Quest?
Want to complete this quest on your own? Then start here; the game gives you no real direction on how to start off so we’ll just give you the main hit to get the ball rolling. Shine your new UV light inside the bus you sleep in back in the hub area. And off you go!
How Use The Keys In The Walking Dead: Saints & Sinners – Aftershocks?
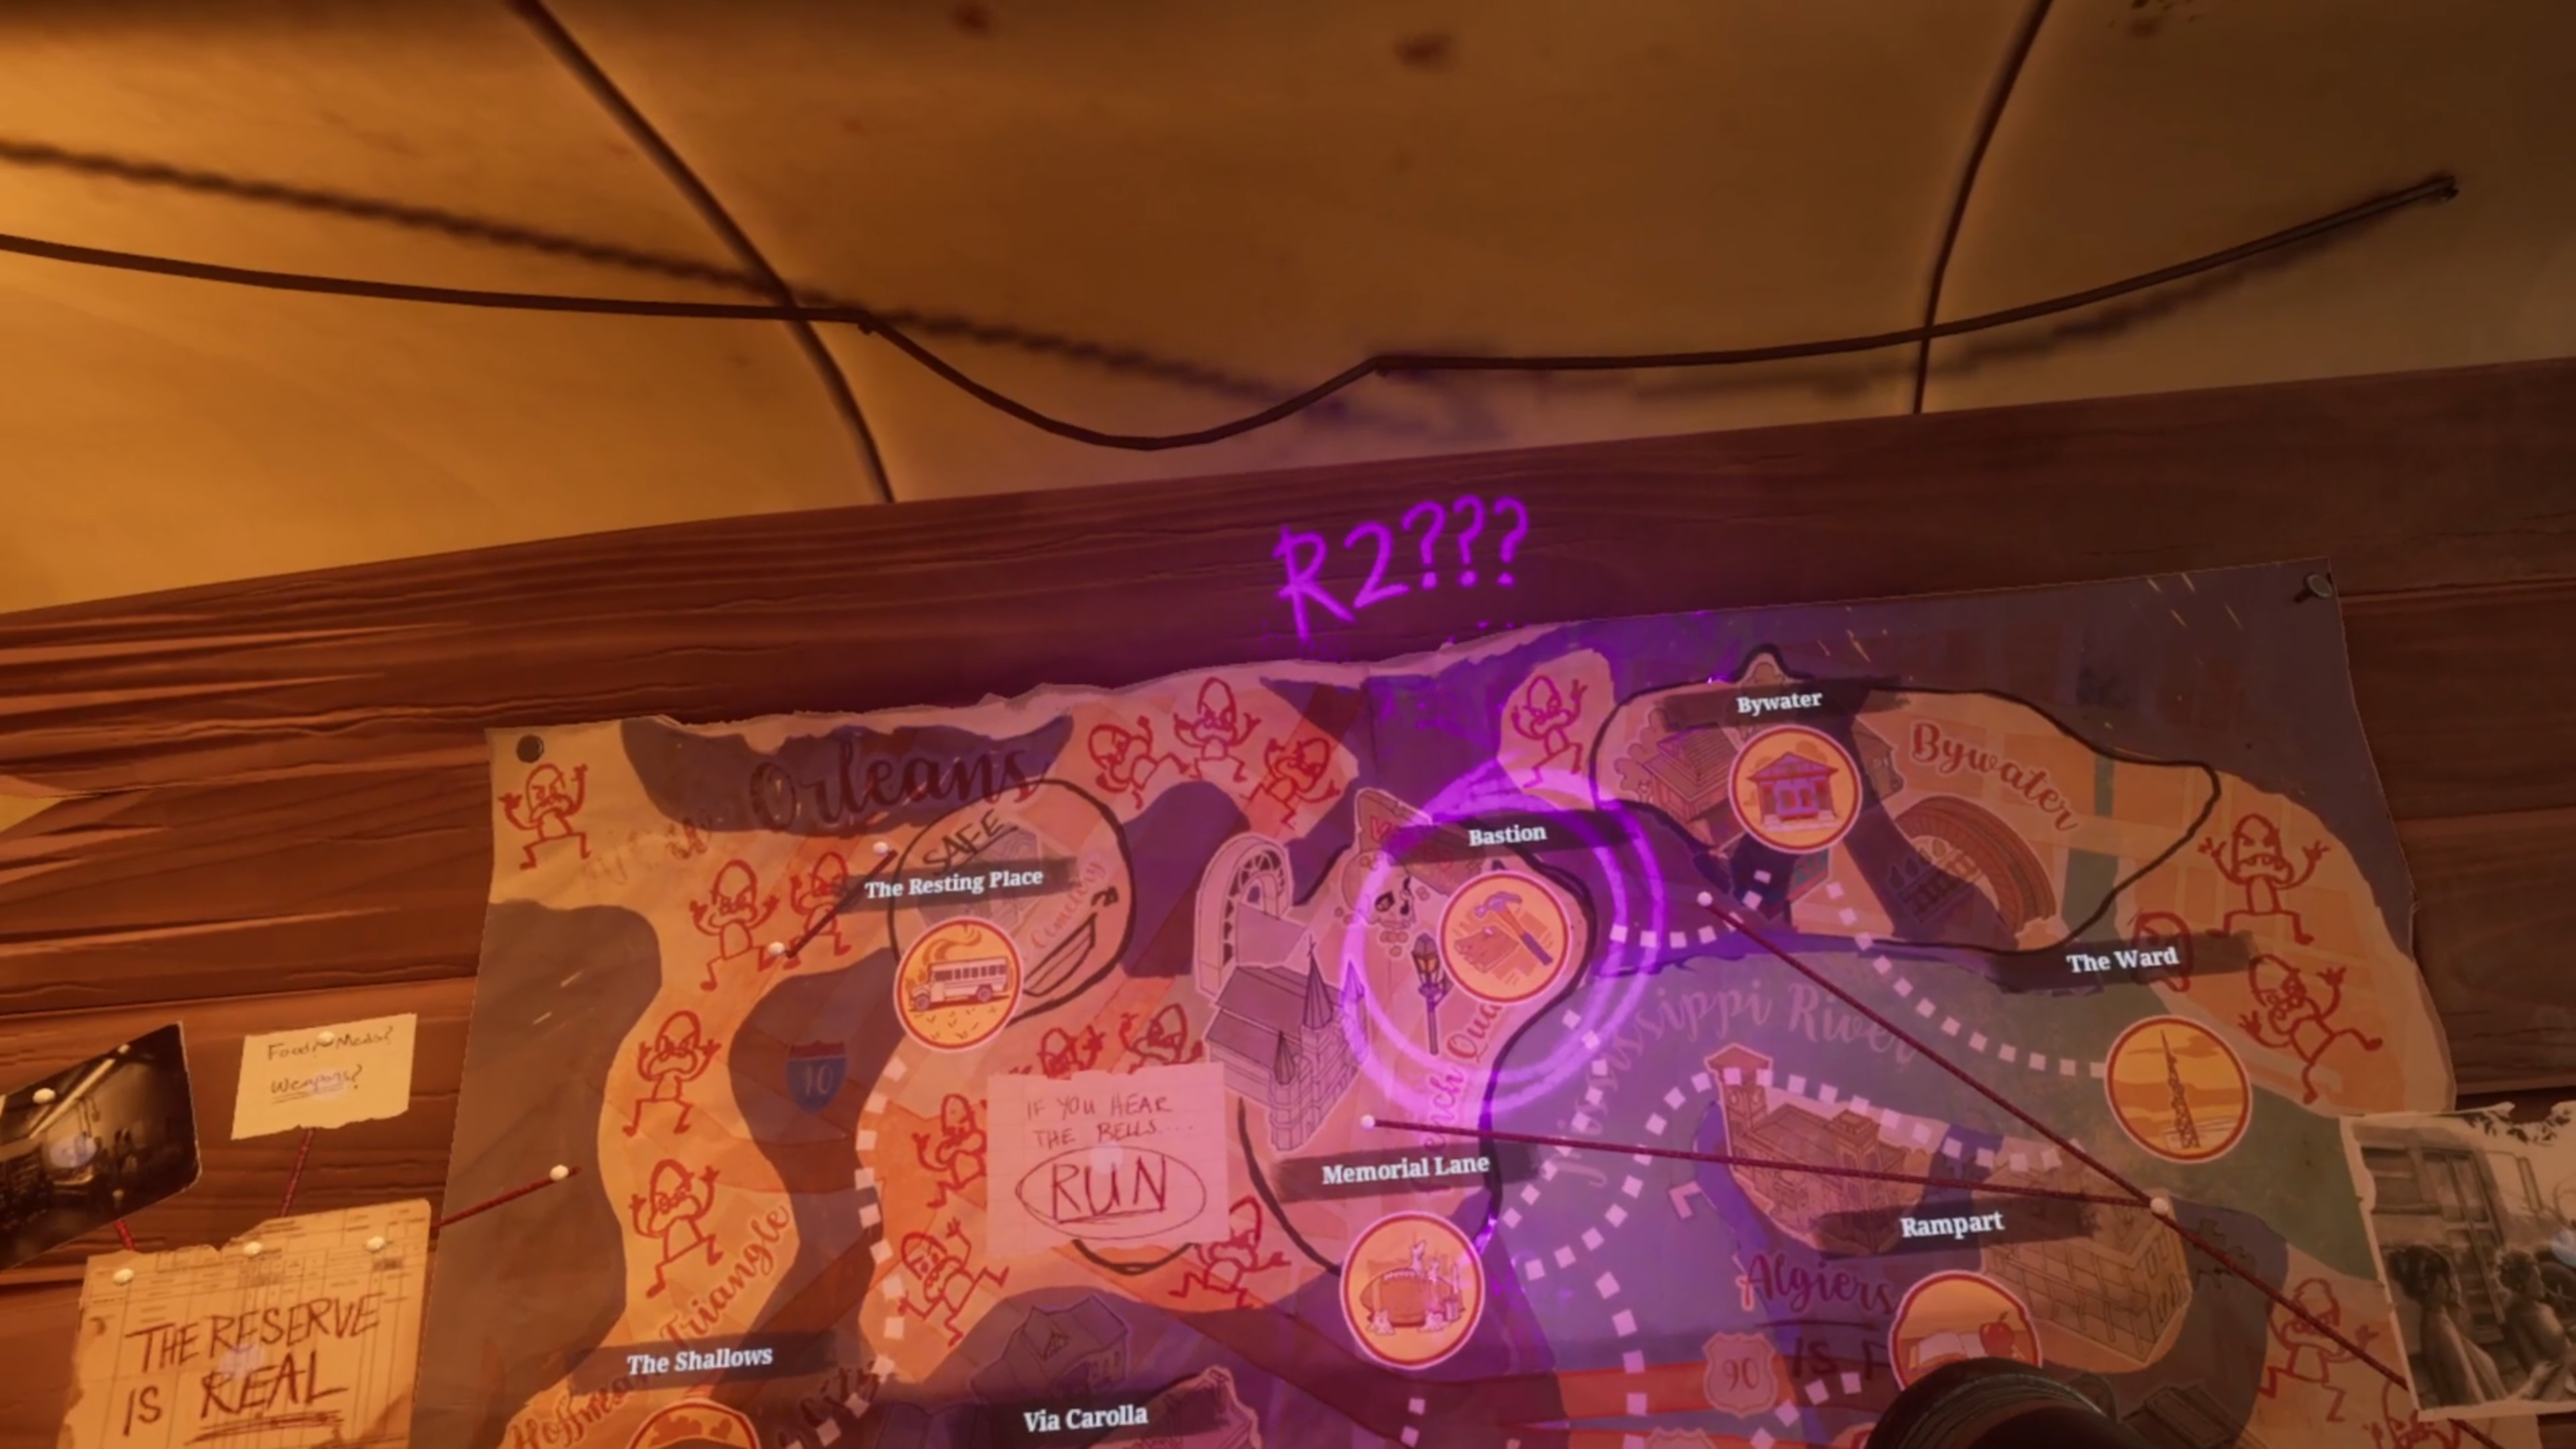
Okay, time for the meaty explanation. Go inside your bus and shine the UV light on the map. You’ll see the Bastion level has been circled by someone. Seems like a clue, no?
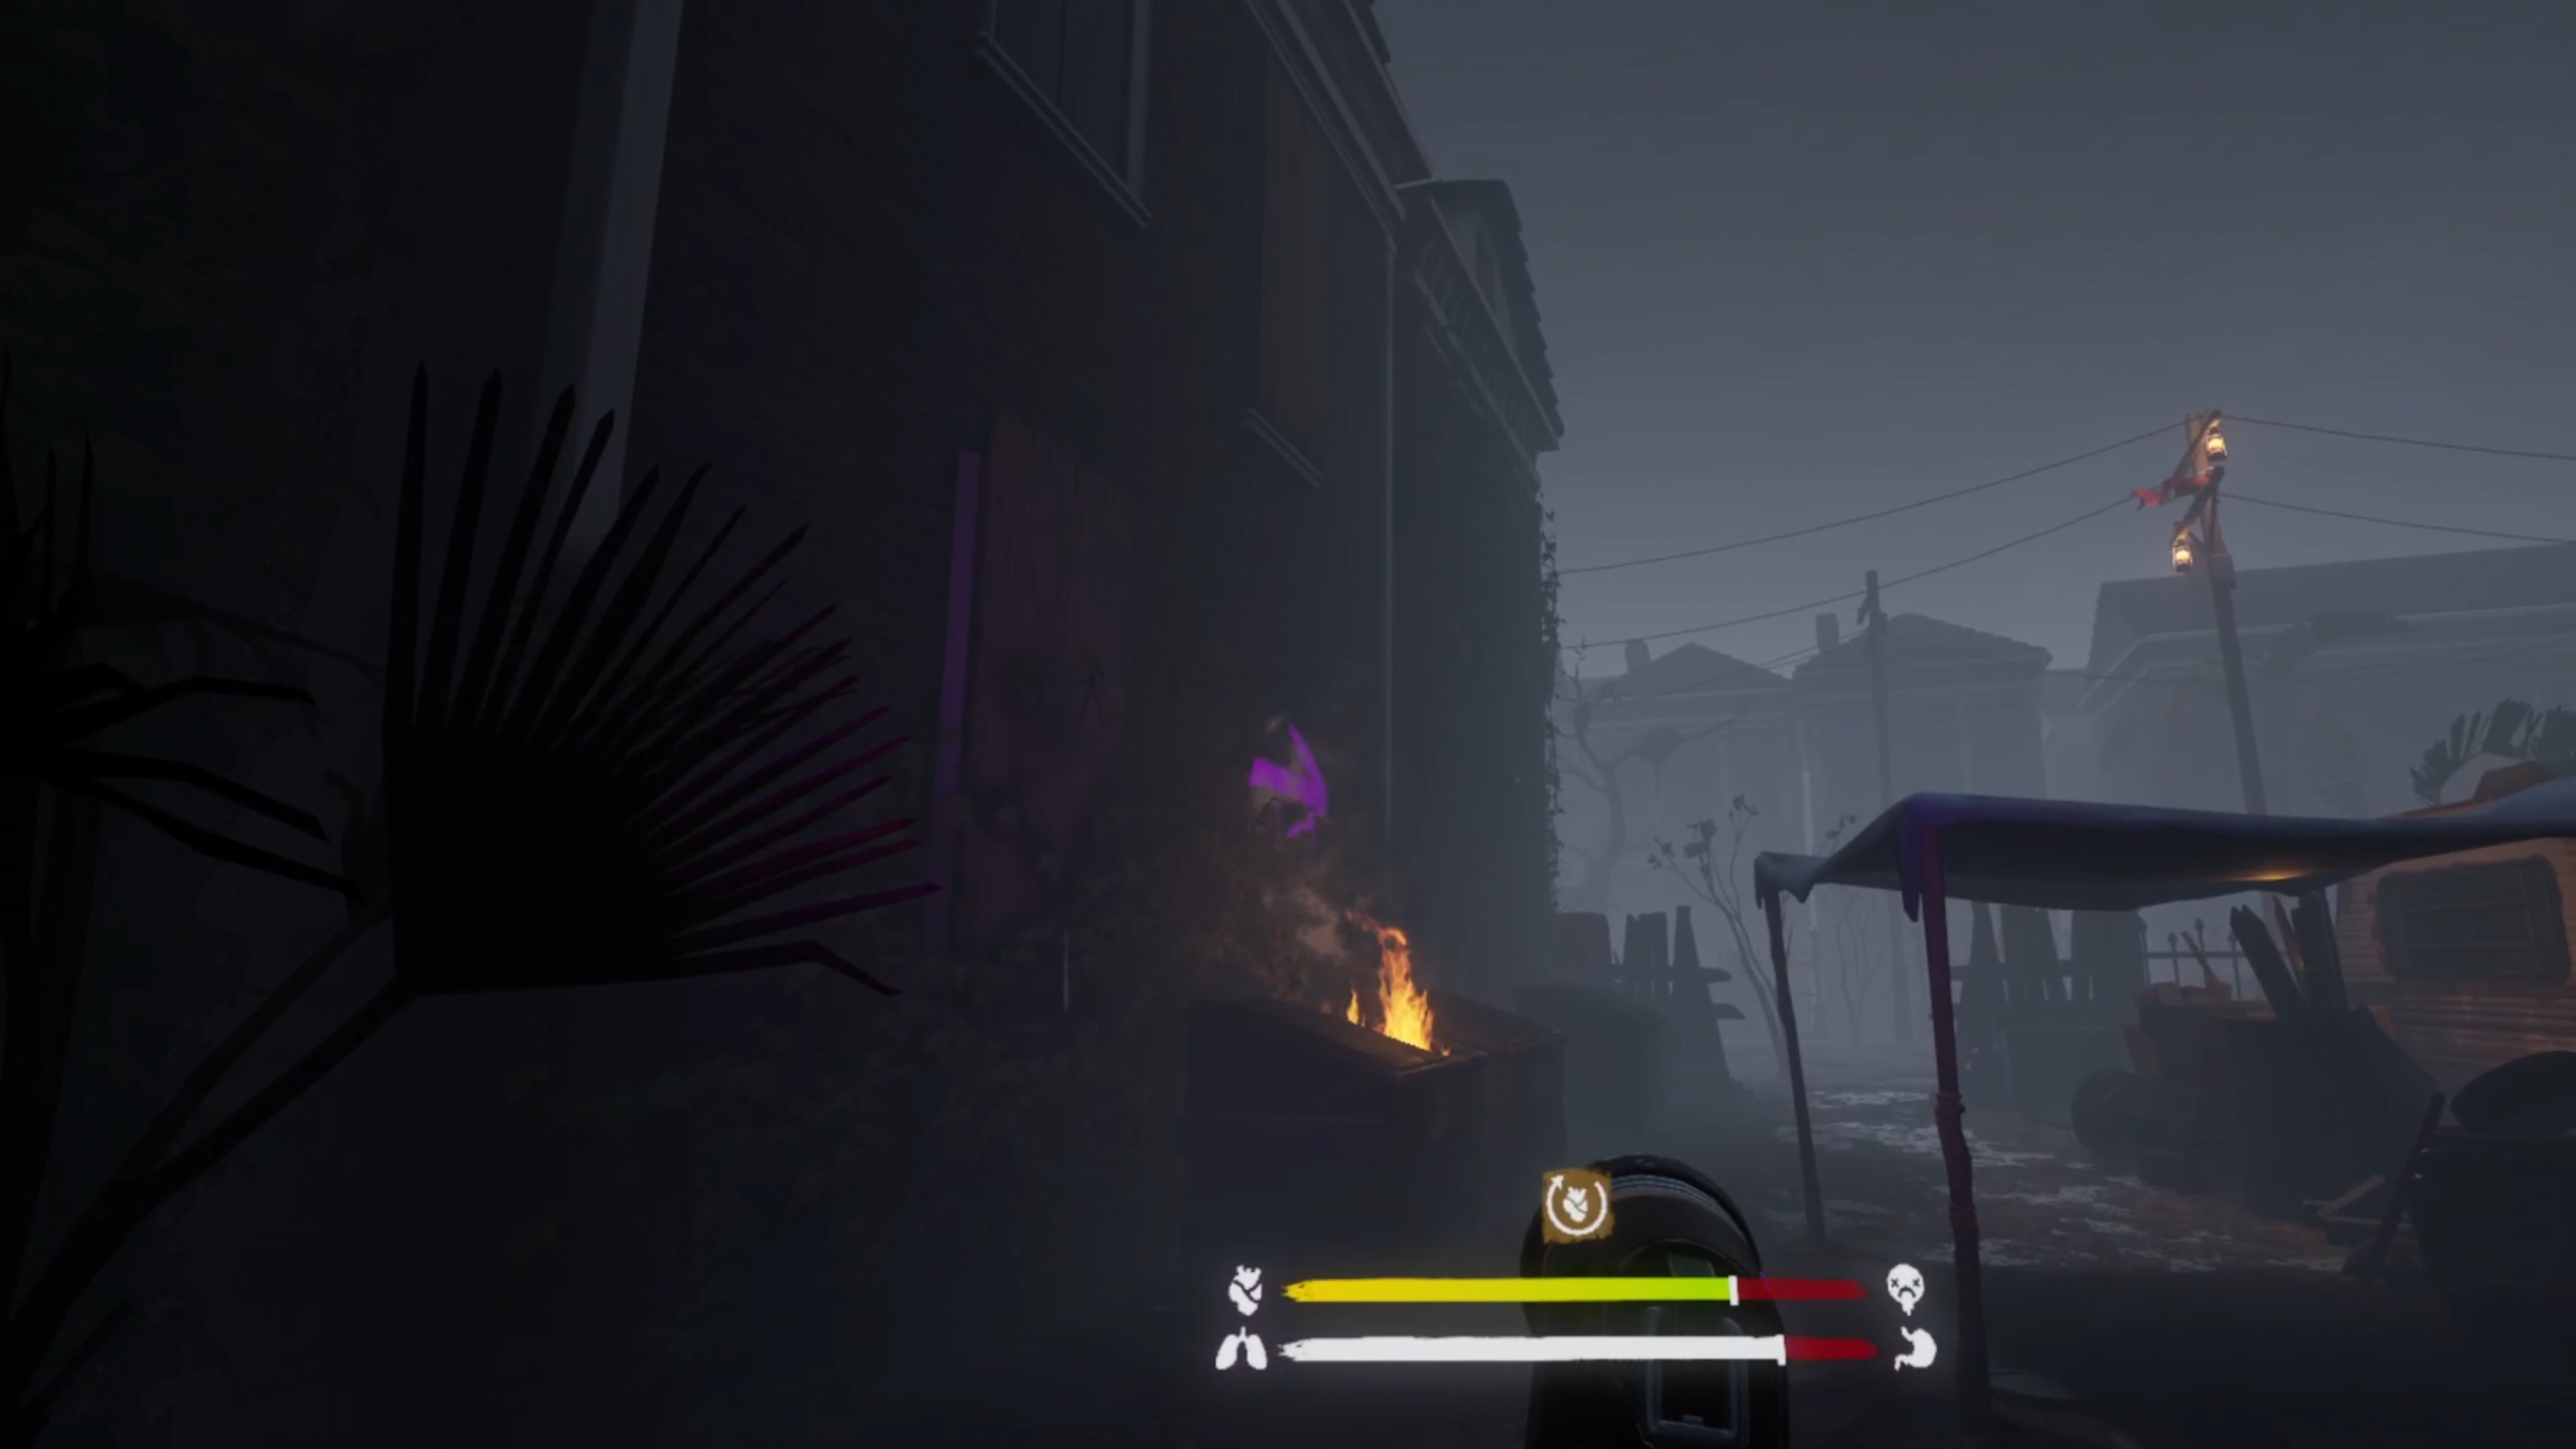
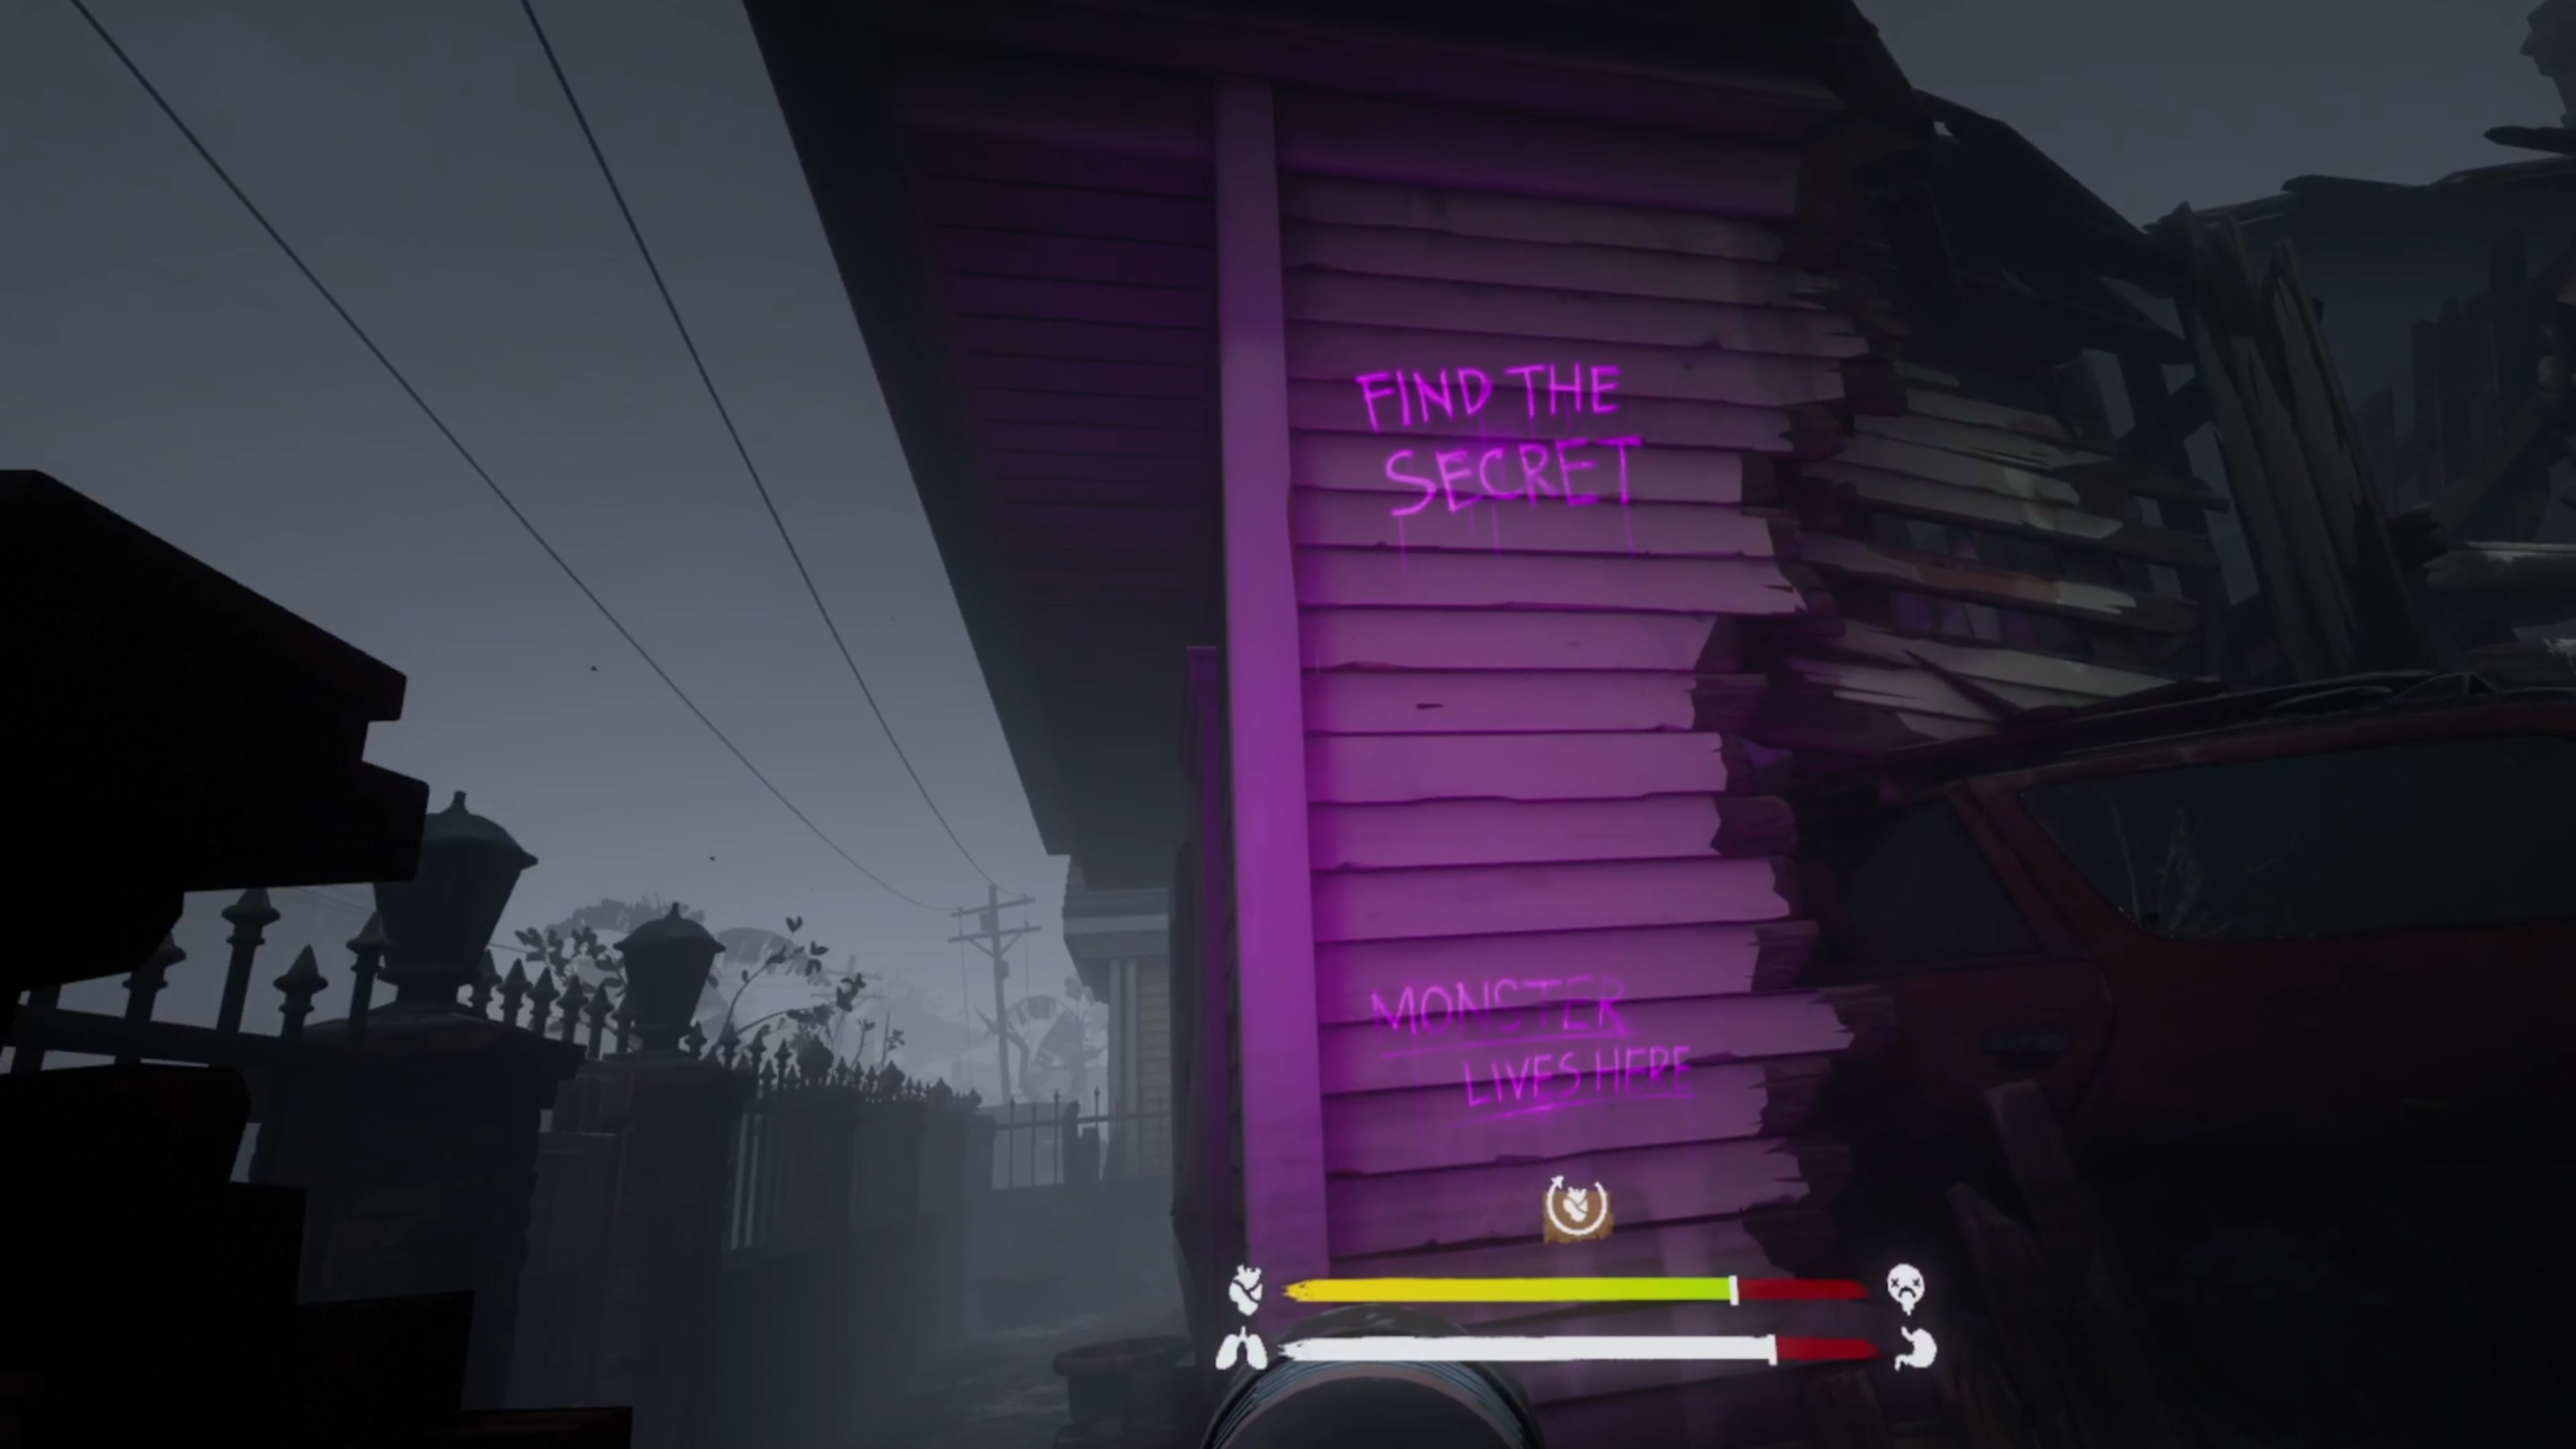
Travel to Bastion and switch on your flashlight once again. With the UV on, you’ll see a message about supplies right in front of you. Walk forwards and you’ll eventually see an arrow on the wall to your left. It leads you out onto the street where you’ll want to head right.
Keep going down the road, you should see more arrows on the floor as you walk. Eventually, you’ll come to a crossroads.
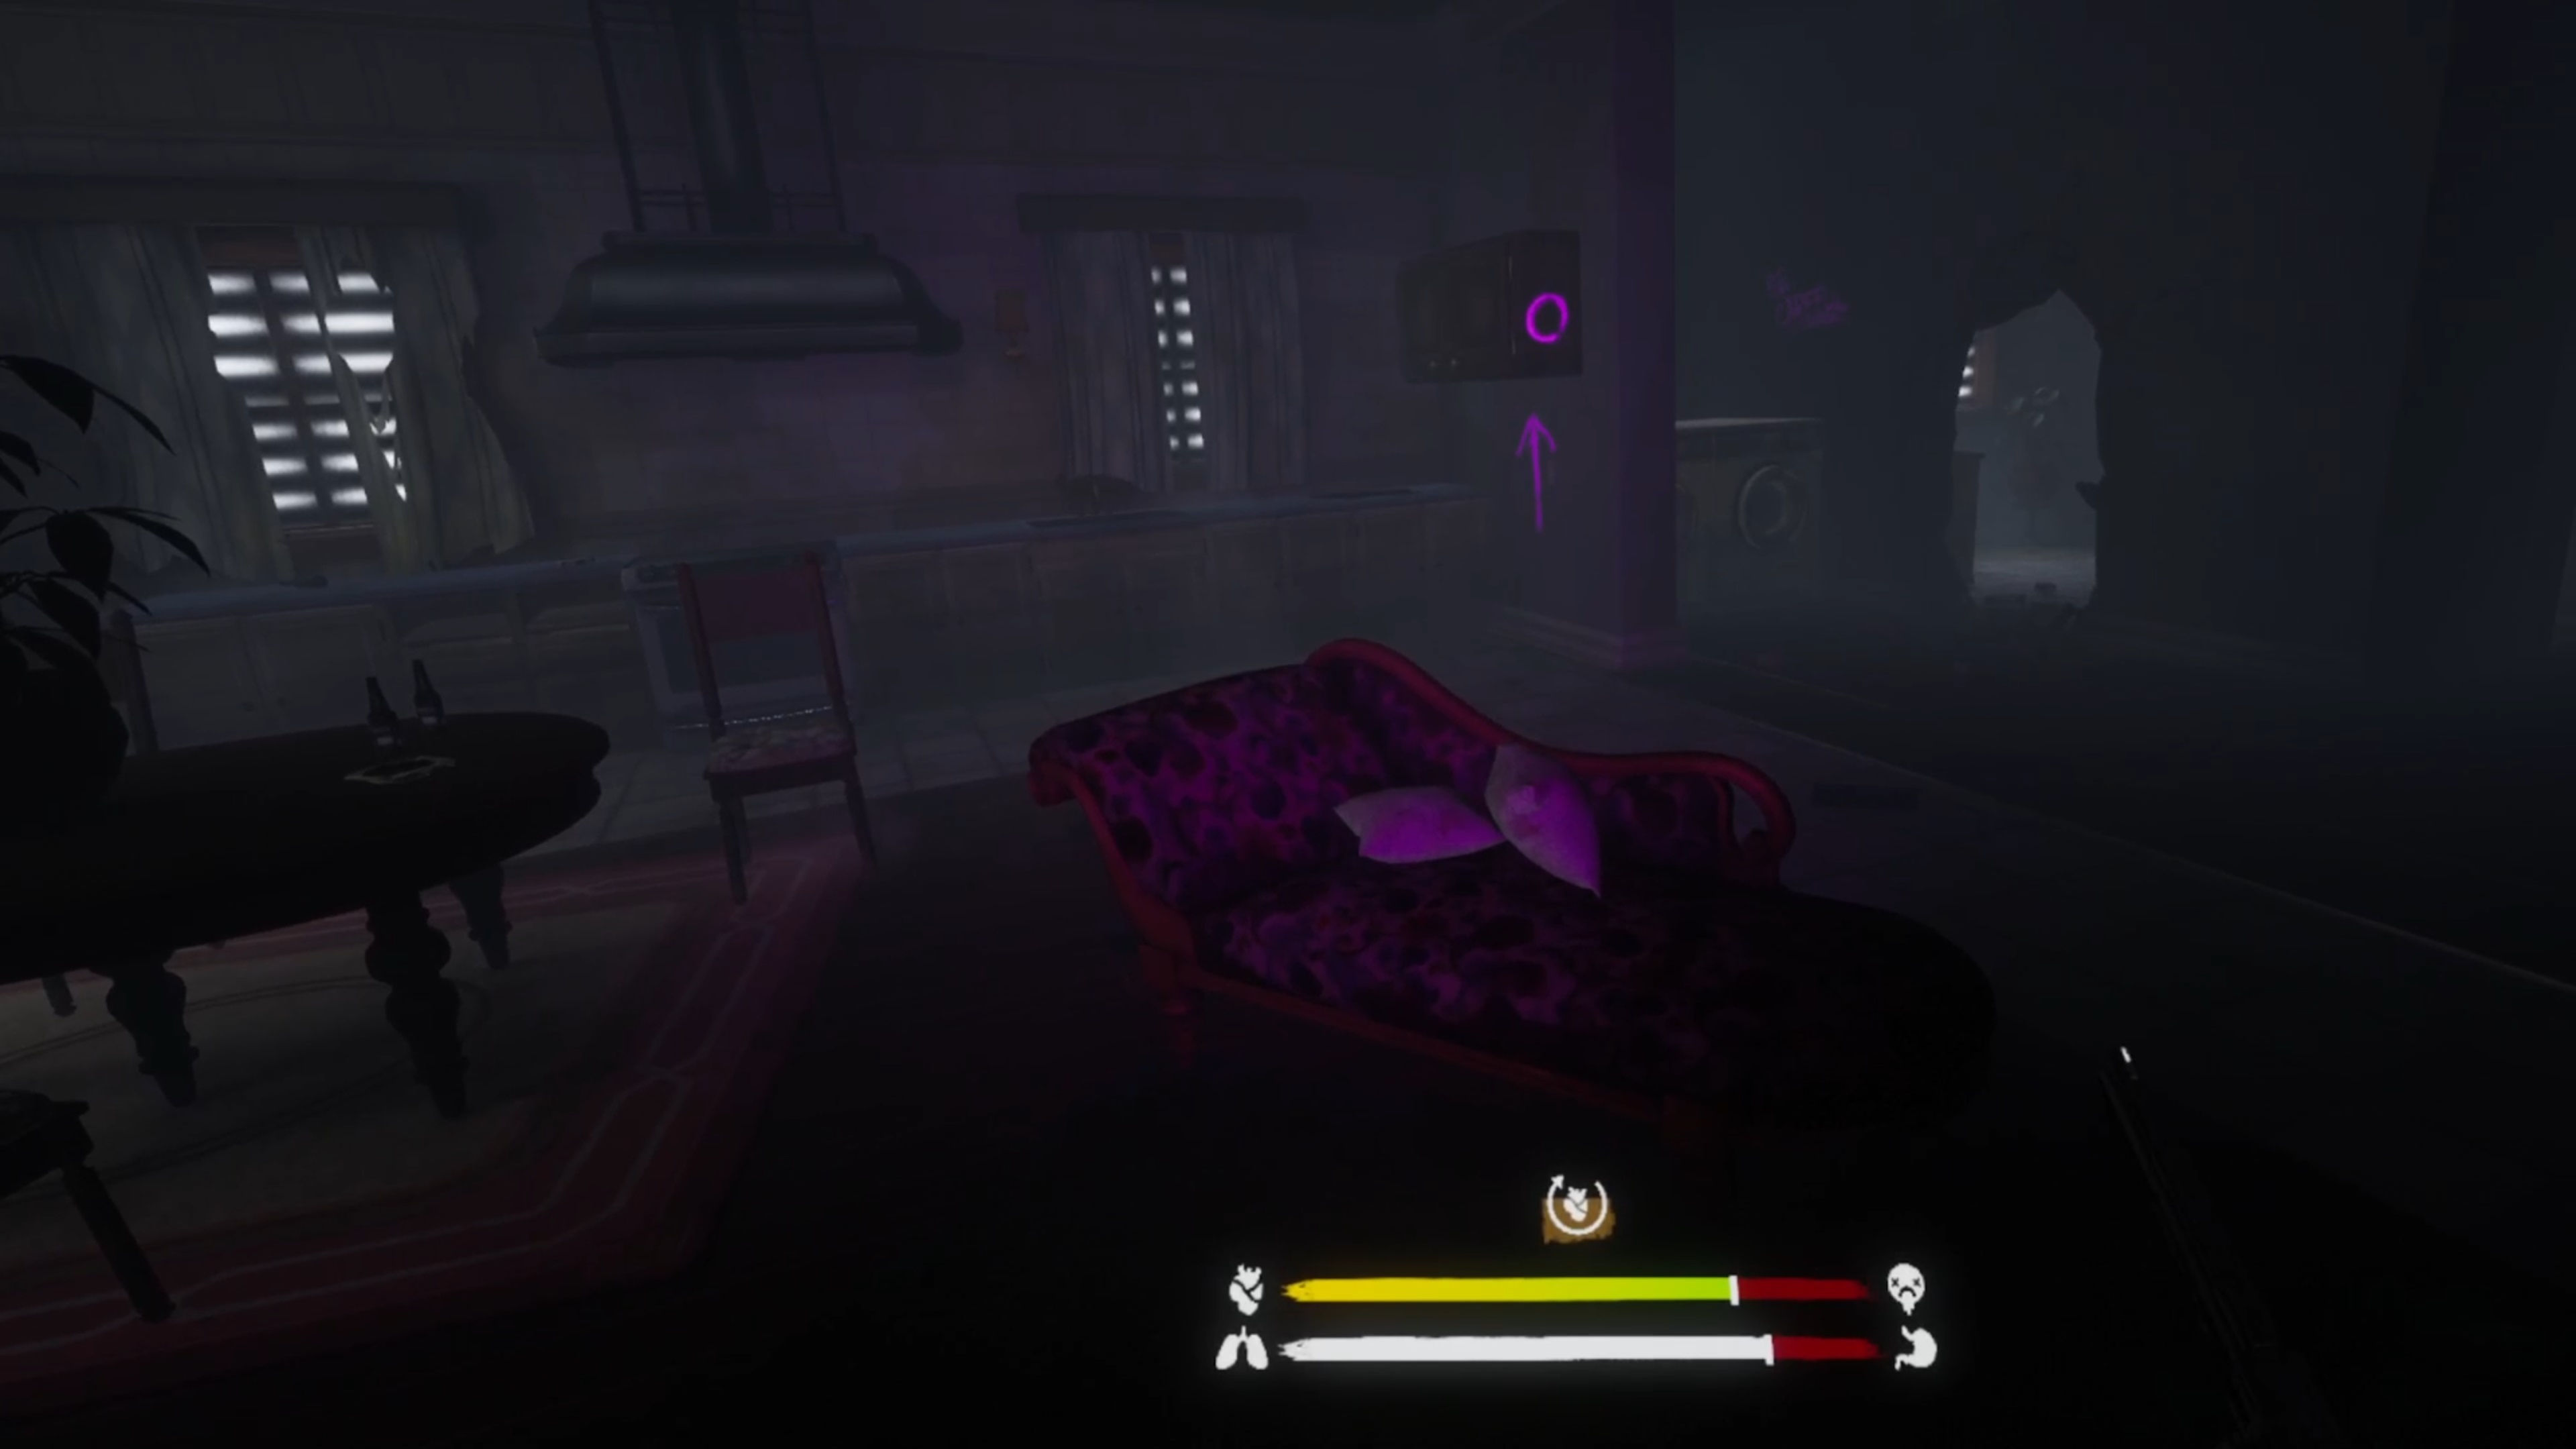
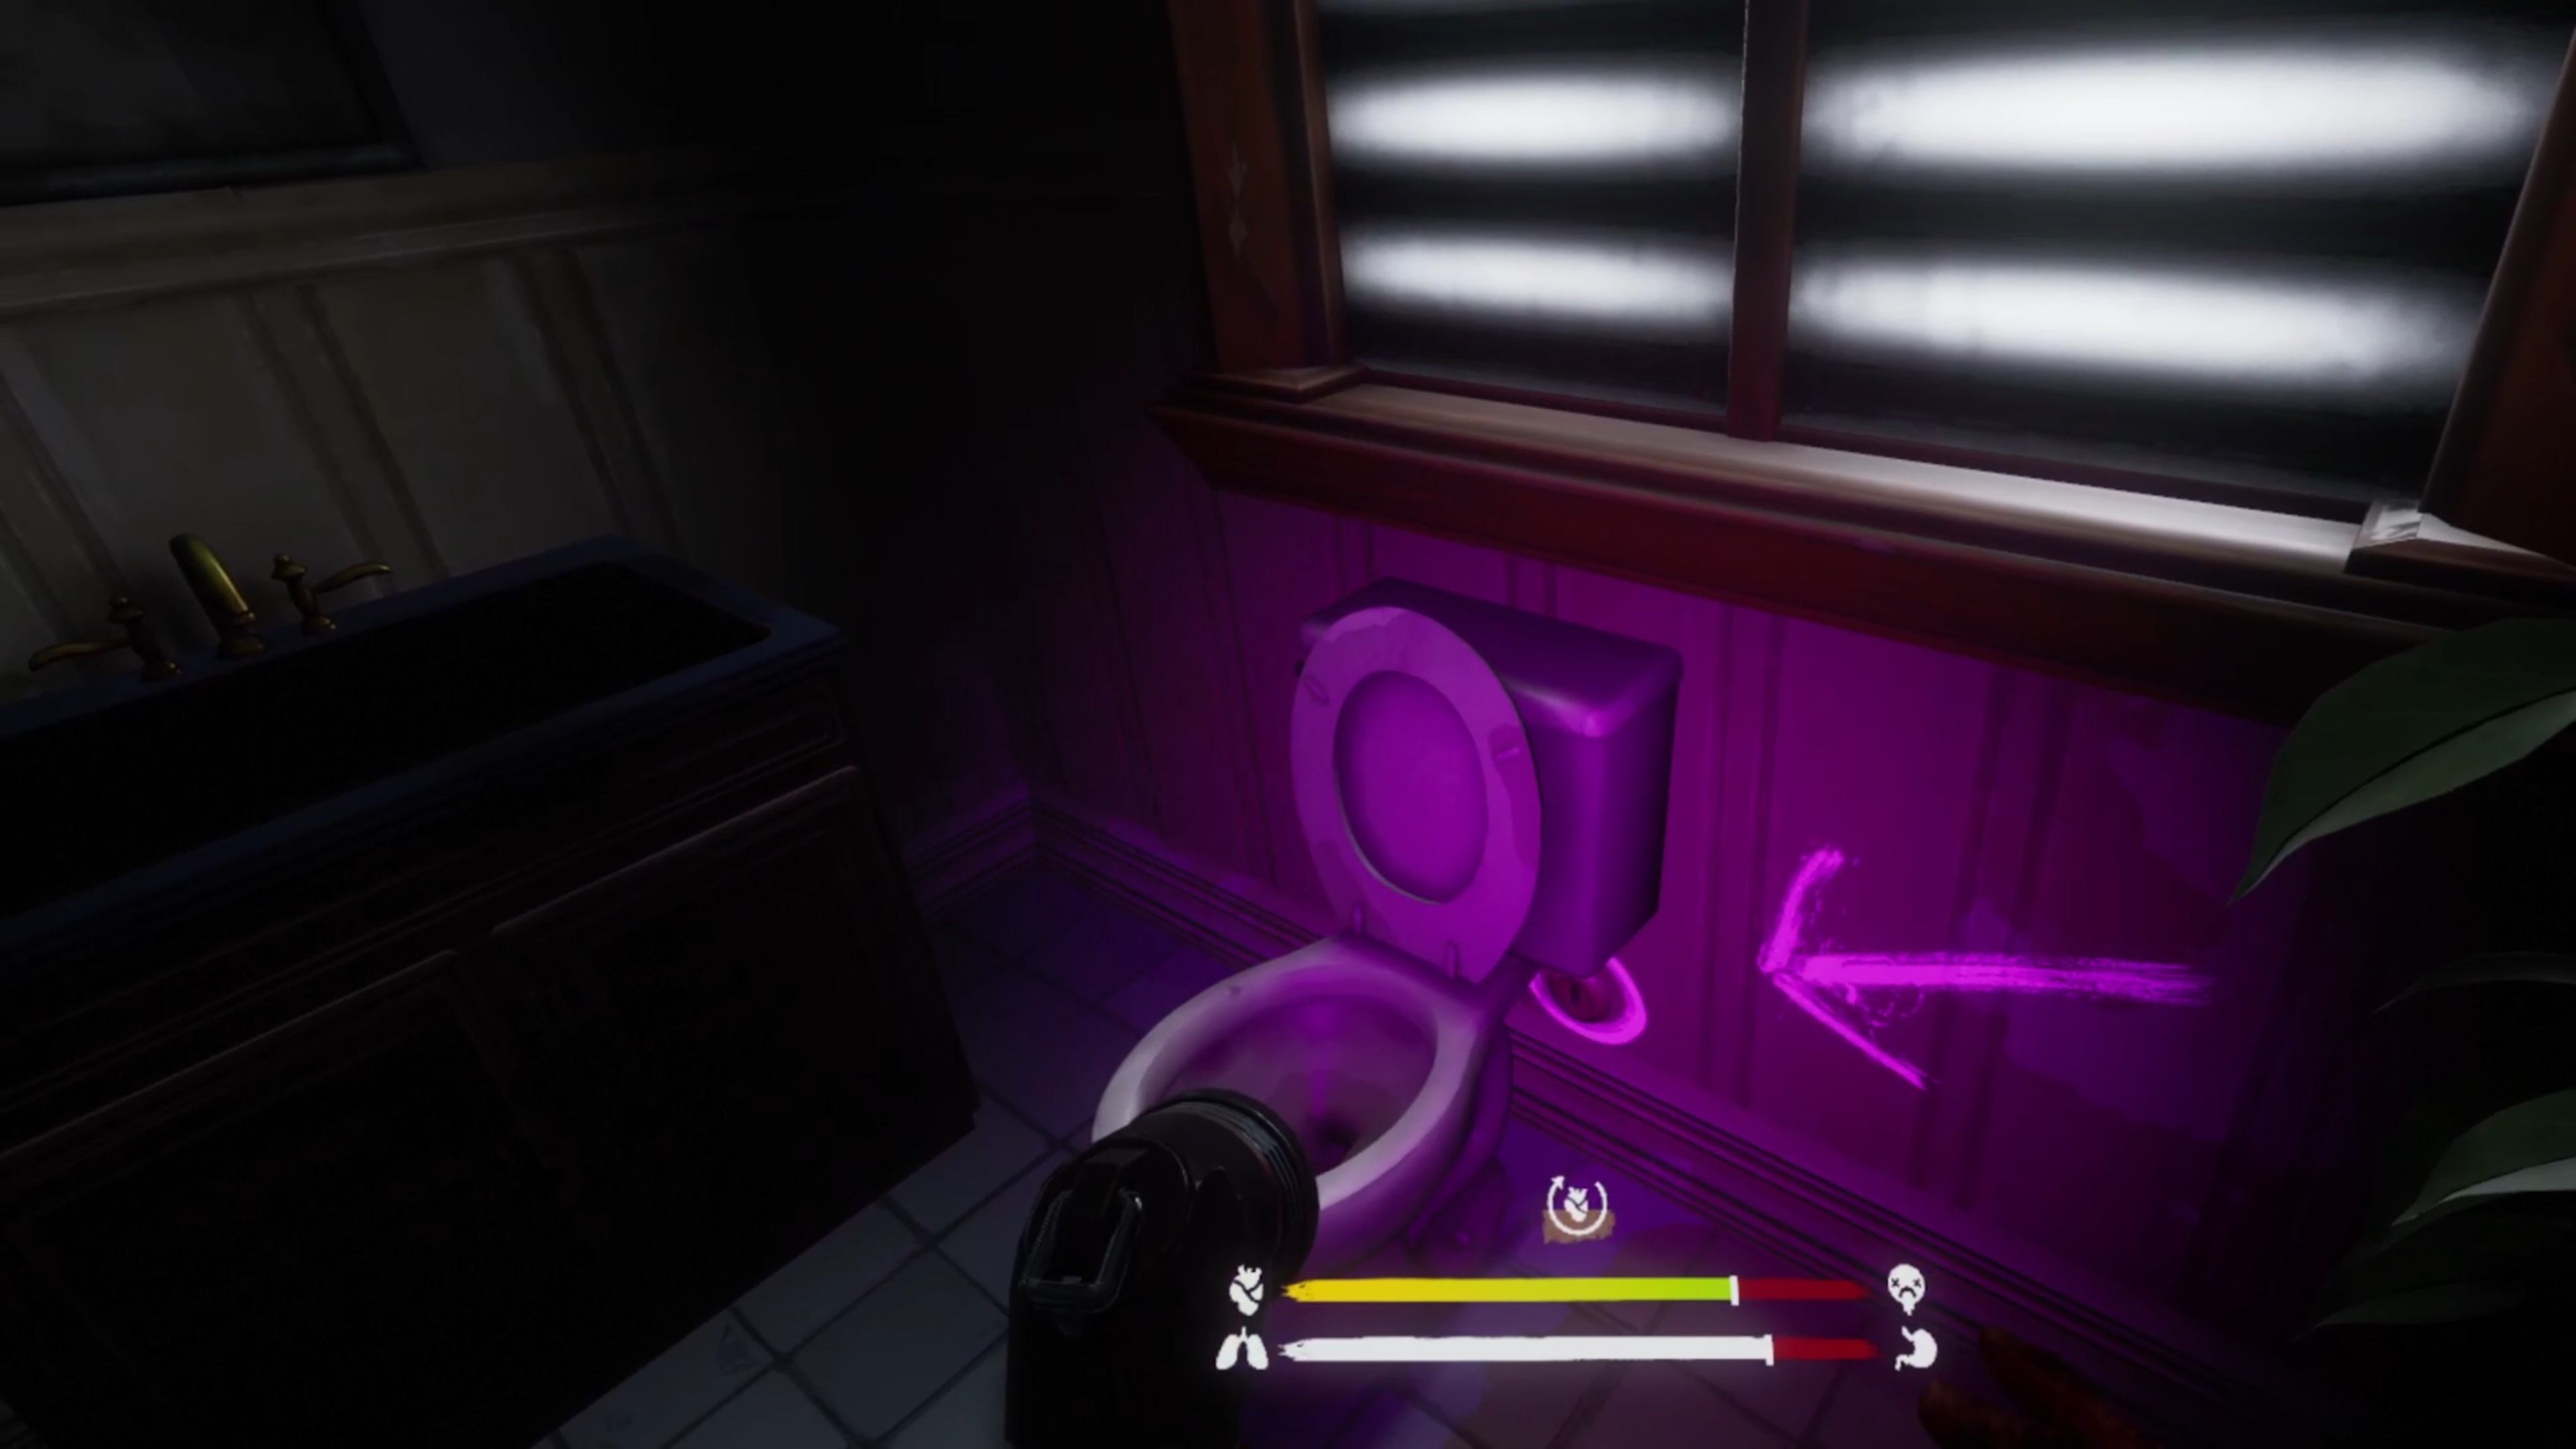
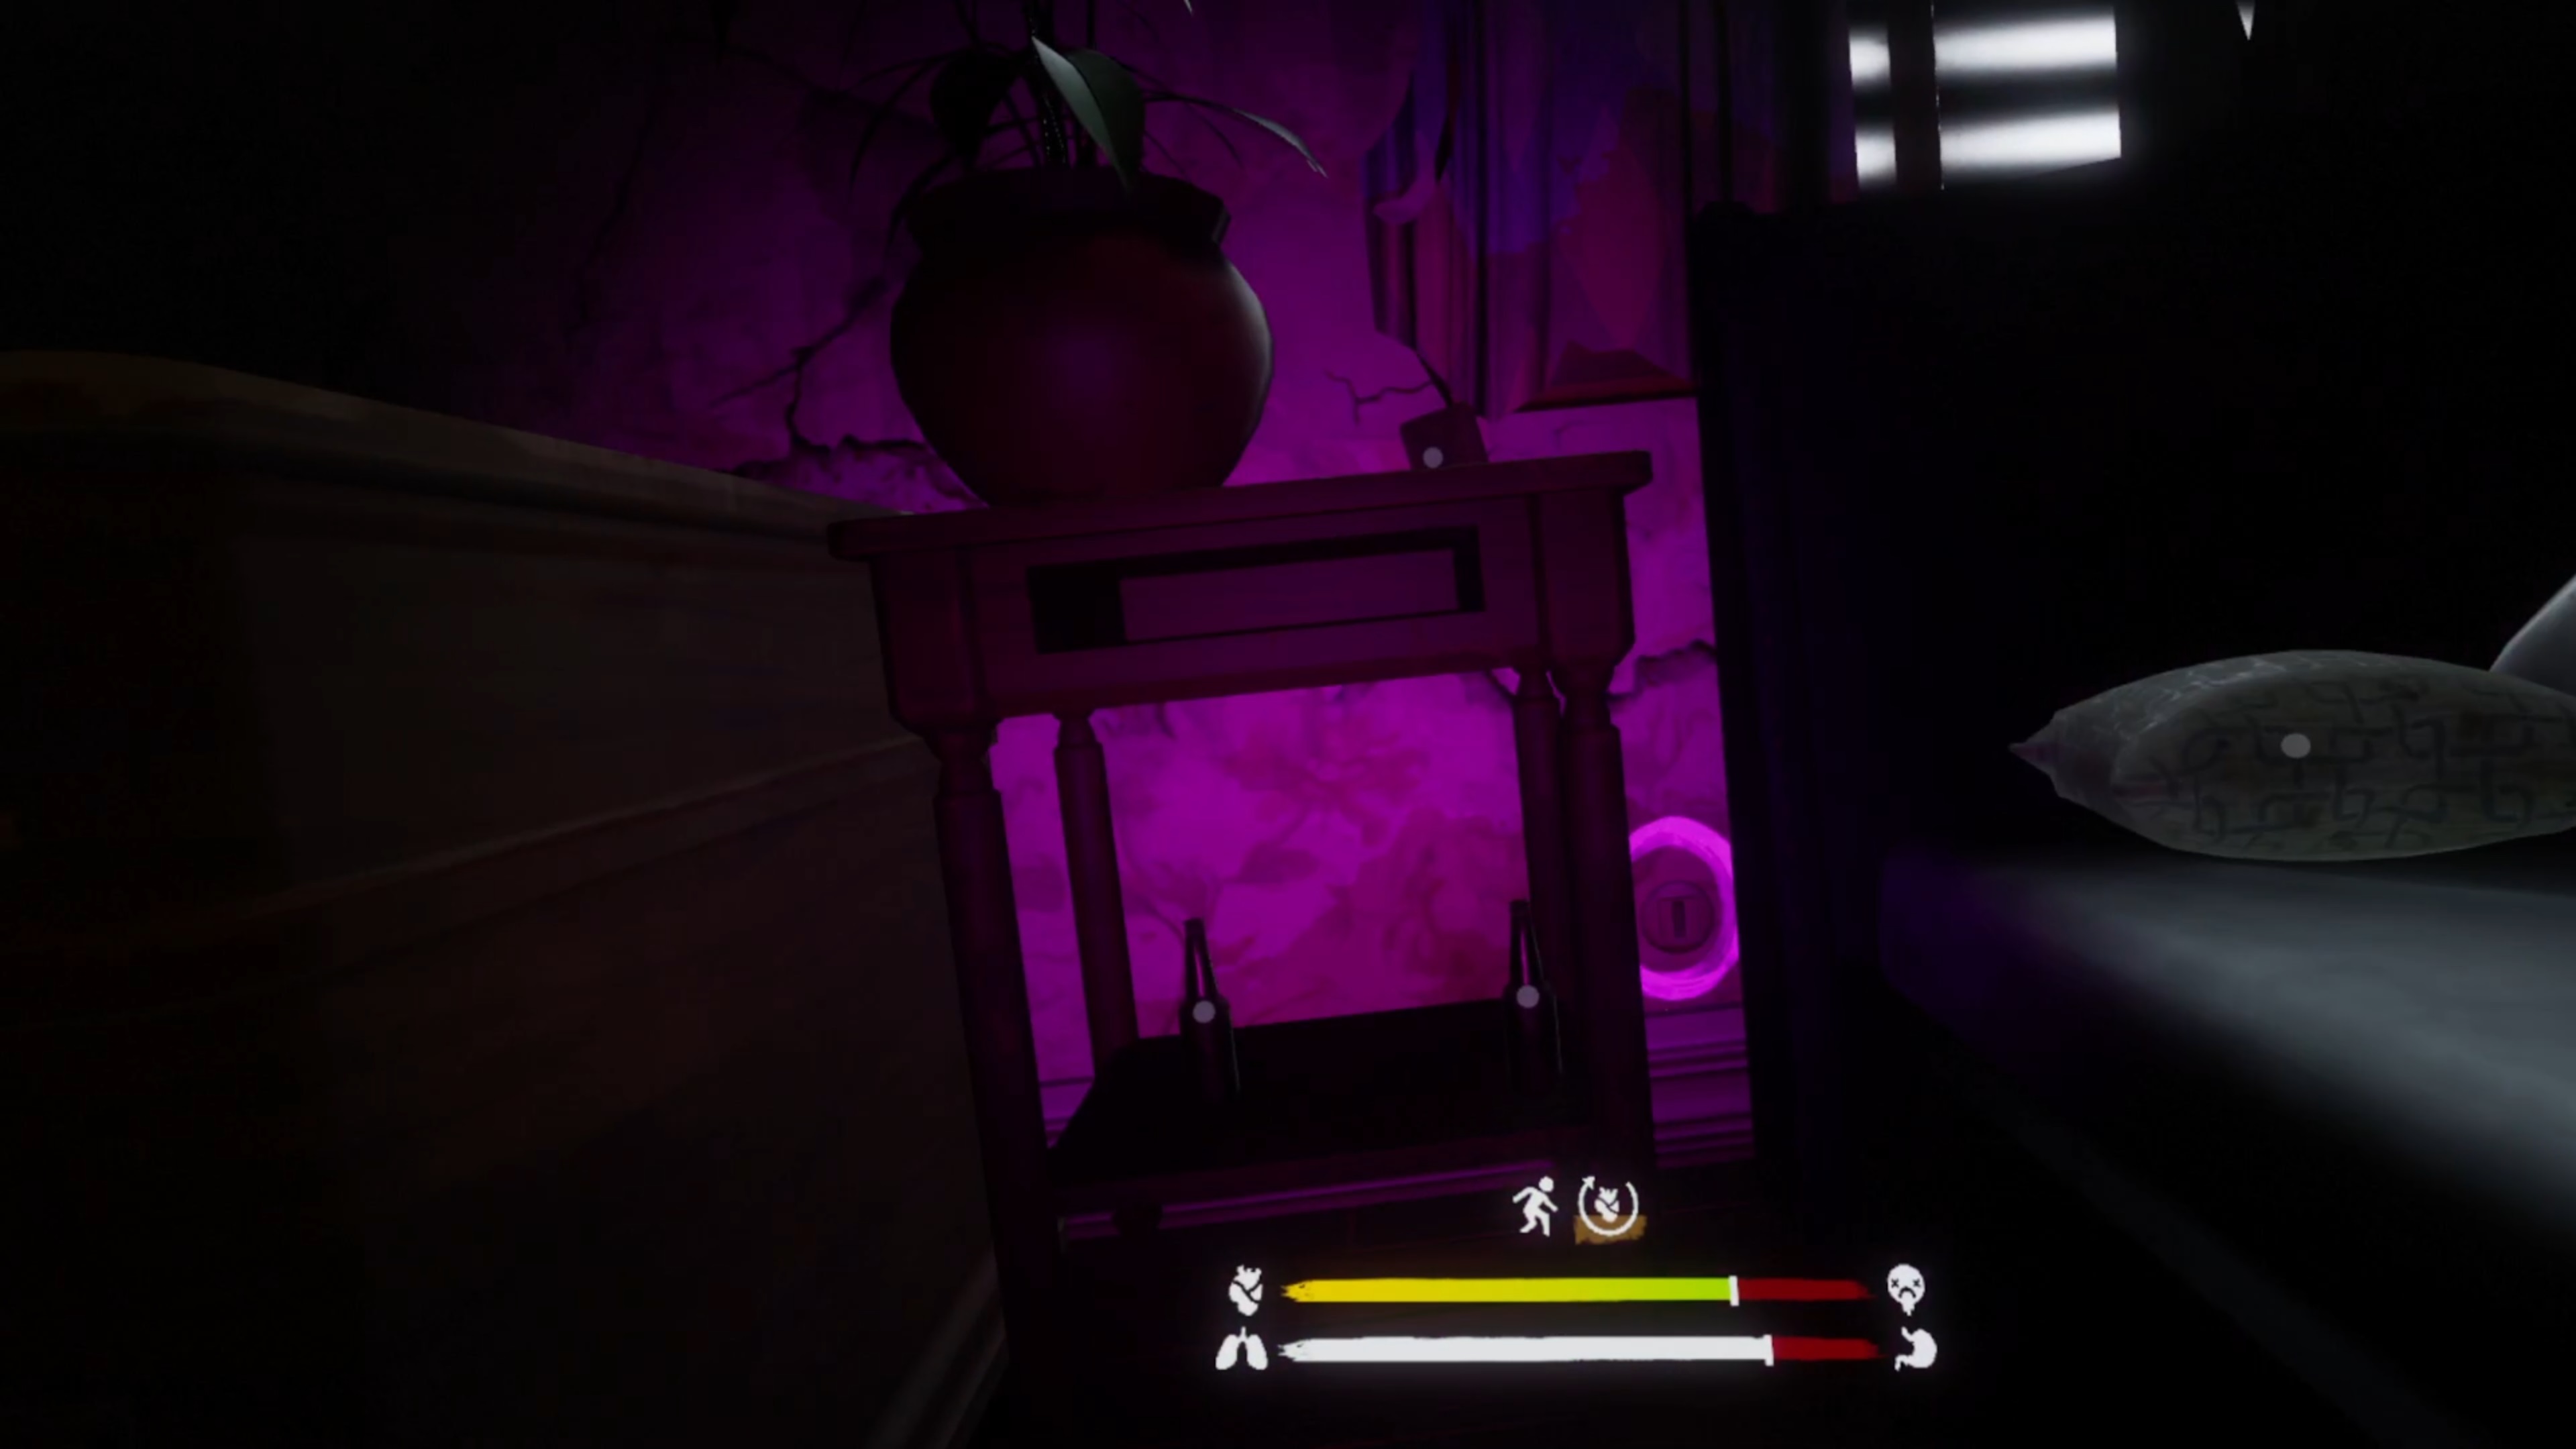
Over on the right side, across the road is a house with a crashed car in the corner. You’ll have visited it earlier in Aftershocks’ campaign, but this is where the three keys need to be used. Again, the UV lights will point you in the right direction but just in case:
The triangle key goes in a cupboard in the kitchen area.
The circle key is behind the toilet in the bathroom.
The square key goes between the bed and desk in the bedroom.
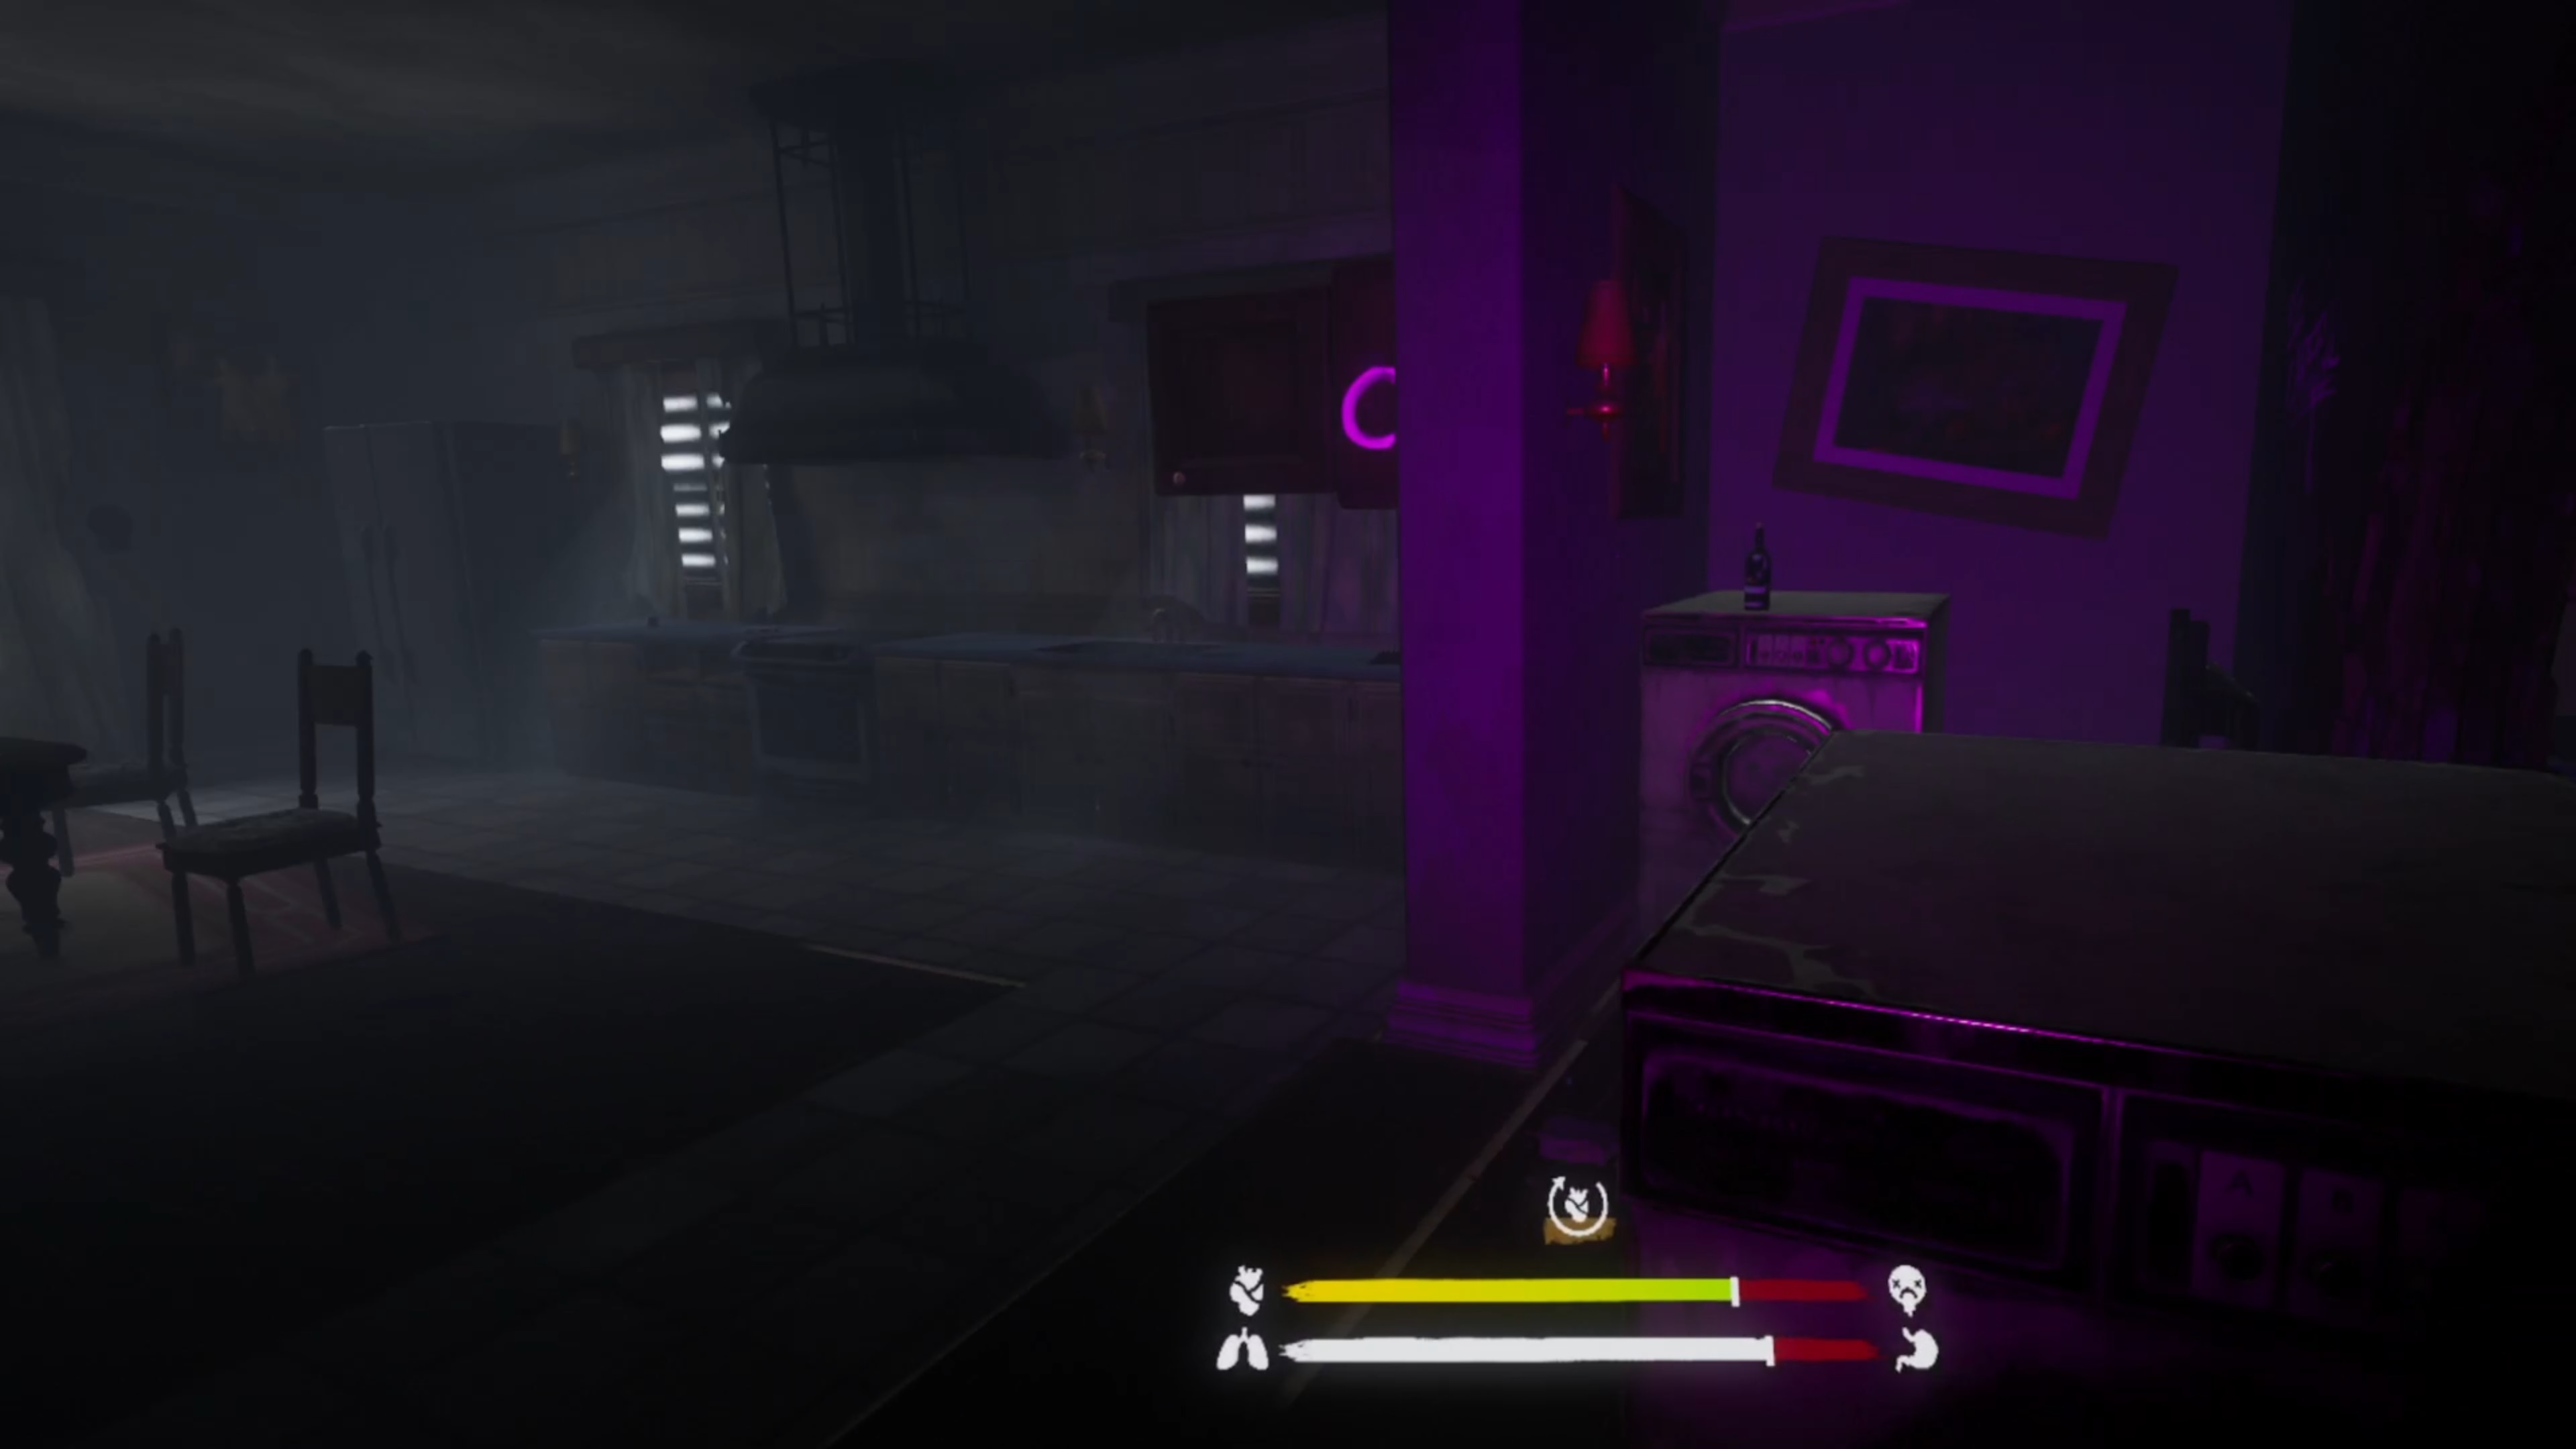
Use all three and you’ll hear a noise. Travel back into the hallway and look for some washing machines. One appears to have shifted. Your prize is just beyond there.
What Do The Keys In The Walking Dead: Saints & Sinners – Aftershocks Unlock?
Okay, now you want the real spoilers? Well, the keys unlock what appears to be a safe room. Unlike the other missions in Aftershocks, the room isn’t loaded with valuable resources to take back to camp (though there is some food). Instead, the room seems to be dropping hints about a new character, one that stayed in the safe room, sports an armored Tower costume and has been doing some pretty meticulous planning. There’s also mention of the historic French Quarter not seen in the game’s existing levels and one letter found on their desk simply reads: “Murderer Tourist”. Sounds like someone doesn’t think very highly of you.
Could Skydance be teasing more DLC for Saints & Sinners? Or is it perhaps giving us the first hints about a full on sequel to the smash hit VR game? Only time will tell.
So there’s how to use the keys in The Walking Dead: Saints & Sinners – Aftershocks. Did we miss anything? Do you have any extra tips? Let us know in the comments below!

